Copic Markers: How and When to Replace Worn Brush Nibs
Copic Marker Care and Maintenance
Copic Markers feature replaceable nibs because nibs do not last forever. For accurate coloring and easy blending, replace brush nibs when they show wear to insure juicy, springy, pointed nibs. In this article, we provide photos of worn nibs and offer tips plus the easy steps to install new Copic brush nibs.

I purchased my first art markers in 1989 for a Marker Illustration class in art school. Back then, markers only had chisel nibs and when we damaged a nib, we threw the marker away, even if it wasn’t empty!
When Copic developed replaceable nibs, artists were thrilled. We could stop trashing otherwise-good markers.
Today, we love Copic Markers because of their replace & refill system. With proper care, Copics can last decades. I’m still using Copics from the 1990’s but I’m not using the original nibs!
As a marker instructor, here’s a frustrating observation:
Many Copic users have NEVER replaced a nib!
Yep, lots of people are coloring with dead marker nibs— floppy, squishy, or leaky brush nibs which actually make coloring harder!
Odds are, you’re one of them.
Today, let me show you how simple it is to install a fresh nib to instantly improve the look of your coloring.
Copic Marker Care and Maintenance
Copic Markers feature replaceable nibs because nibs do not last forever. For accurate coloring and easy blending, replace brush nibs when they show wear to insure juicy, springy, pointed nibs. In this article, we provide photos of worn nibs and offer tips plus the easy steps to install new Copic brush nibs.
Note: this article contains affiliate links to products mentioned. We only link to products we endorse and we source them to retailers we use and trust.
Why is it Important To Replace Copic Marker Nibs?
Thirty-some years ago when Copics were rare in the US, they were prized by designers, artists, and illustrators. No artist wants to fight with their supplies, so when we damage a nib, we swap it fast.
Artists know, the quality of our art suffers when we use broken supplies.

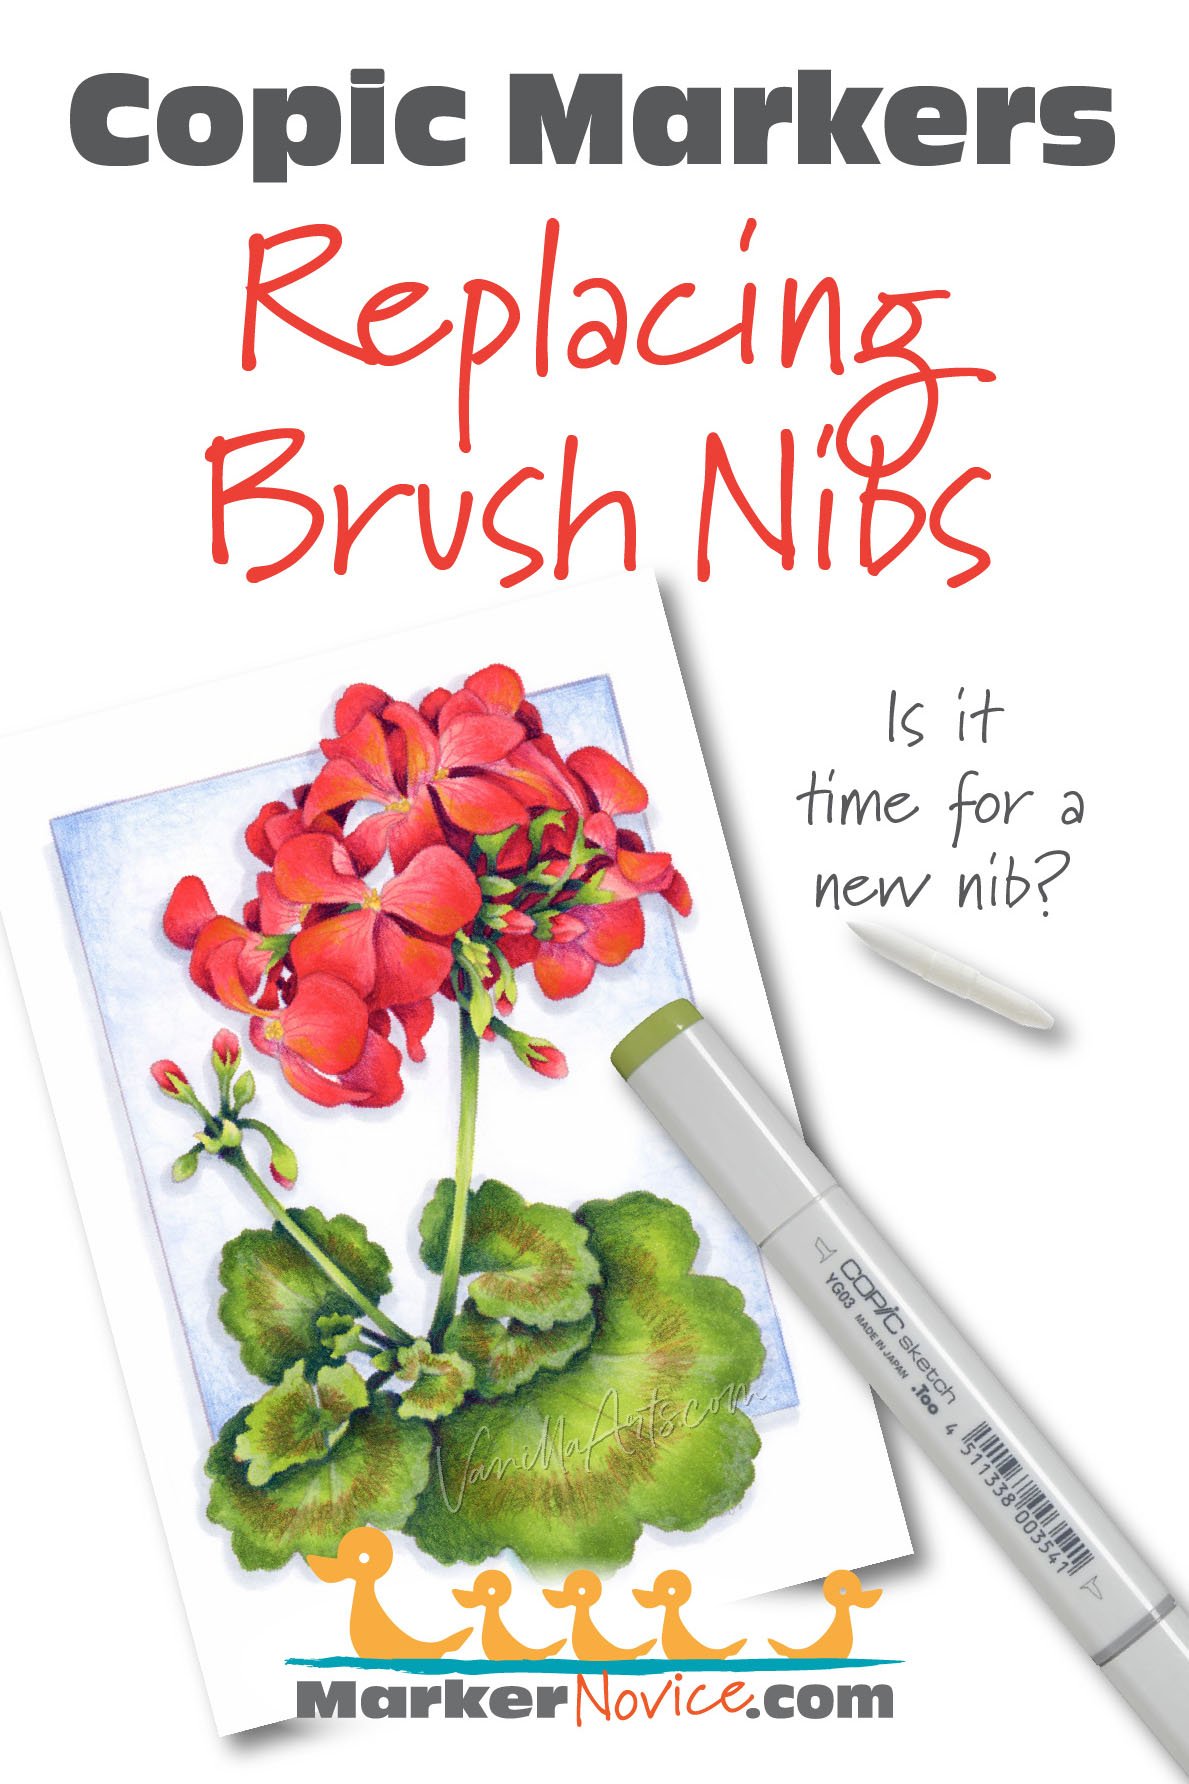
“Scarlet Geranium” by the author, Amy Shulke. Copic Markers and Prismacolor Premier Colored Pencils on X-Press It Blending Card. Take the online artistic coloring class which introduces color kissing technique for dynamic color. More info here.
But the modern Copic user is now more likely to be a student, a hobby colorer, or a paper crafter— people on tight budgets or who’d rather spend money on other craft supplies.
When you combine artistic inexperience with frugality, you get a population who don’t recognize the signs of a dying marker or who talk themselves out of normal marker maintenance.
Unfortunately…
Your coloring is only as good as your marker nibs.
When you open a Copic cap to find a crusty nib, you don’t have a choice, you must replace it.
But there are a lot of colorers who try to stretch their nibs past the replacement point. This is when the bad nib starts to make you look like a sloppy or incompetent colorer.
Brush nibs do not get better with age. No brush nib performs as well as it does the first time.
This is because paper is hard and nibs are soft.
Look, you don’t think twice about sharpening a pencil. Pencil leads wear down and lose their point because paper is abrasive.
Like pencil leads, a soft felt fiber brush nib is also no match for abrasive paper tooth.
Even if the paper feels smooth to your fingers, it’s still rough on your marker nibs. Paper acts like sandpaper, rounding-off the point of the nib. It also pulls fibers away from the felt causing the nib to gradually grow fuzzy over time.
Because we can’t sharpen a marker nib, you must replace it.
Marker nibs don’t just go dull and fuzzy, they also go limp.
With normal use, we press the marker nib into the paper to release ink. We physically bend the brush nib every time we color.
A new marker nib snaps back after it’s bent. But with every bend, it gets a little less snappy. Artists call this snap-back “spring” and markers lose spring much faster than paintbrushes.
Dull, fuzzy, or floppy nibs are difficult to control.
It really is the difference between a 21 year old Olympic athlete and your 79 year old grandpa with a cane.
Dull, rounded brush nibs do not place ink on the paper where you expect
They’re slow to respond to commands
They spread ink inconsistently with random surges and dry spells
Remember, forty years ago, we used to throw away a marker that misbehaved.
Now we’ve got a whole generation of Copic fans who are reluctant to change bad nibs.
And your coloring looks worse for it.
When To Replace a Copic Brush Nib
Keep in mind that we tend not to notice subtle changes over time. You grow accustomed to the feel of less spring in your brush nib and you won’t always notice the growing fuzz on a nib if you use it frequently.
When you uncap a Copic for the first time in a while, take a moment to evaluate the health of your brush nib.
I can’t tell you how often I catch dull nibs this way. “Dang, that’s really rounded! How did I not notice it last time?”
But before we discuss the signs of a dead or dying brush nib, it’s important to note:
Copic Brush Nibs are made out of two kinds of felt. Felt is not a woven fabric. Instead, felt is a dense tangle of fibers, bunched tightly together.
The center core of a Copic brush nib is hardened felt. It provides stability and spring.
The hard core wears a triangular “party hat” of softer felt. This soft cap is the ink applicator, the only part that makes contact with the paper.
When is it time to replace a brush nib?
Here’s what to look for:
1. Rounded End: Paper tooth slowly wears away the point of the nib. Dull nibs cause accuracy issues because it’s hard to predict exactly where you’re contacting the paper with a rounded nib. You’ll see more coloring outside the lines and fewer sharp corners or crisp details from blunt nibs. They’re also unexpectedly juicy because there’s less felt to hold-back the ink coming from the marker. Rounded nibs are disasters waiting to happen. Change them immediately.
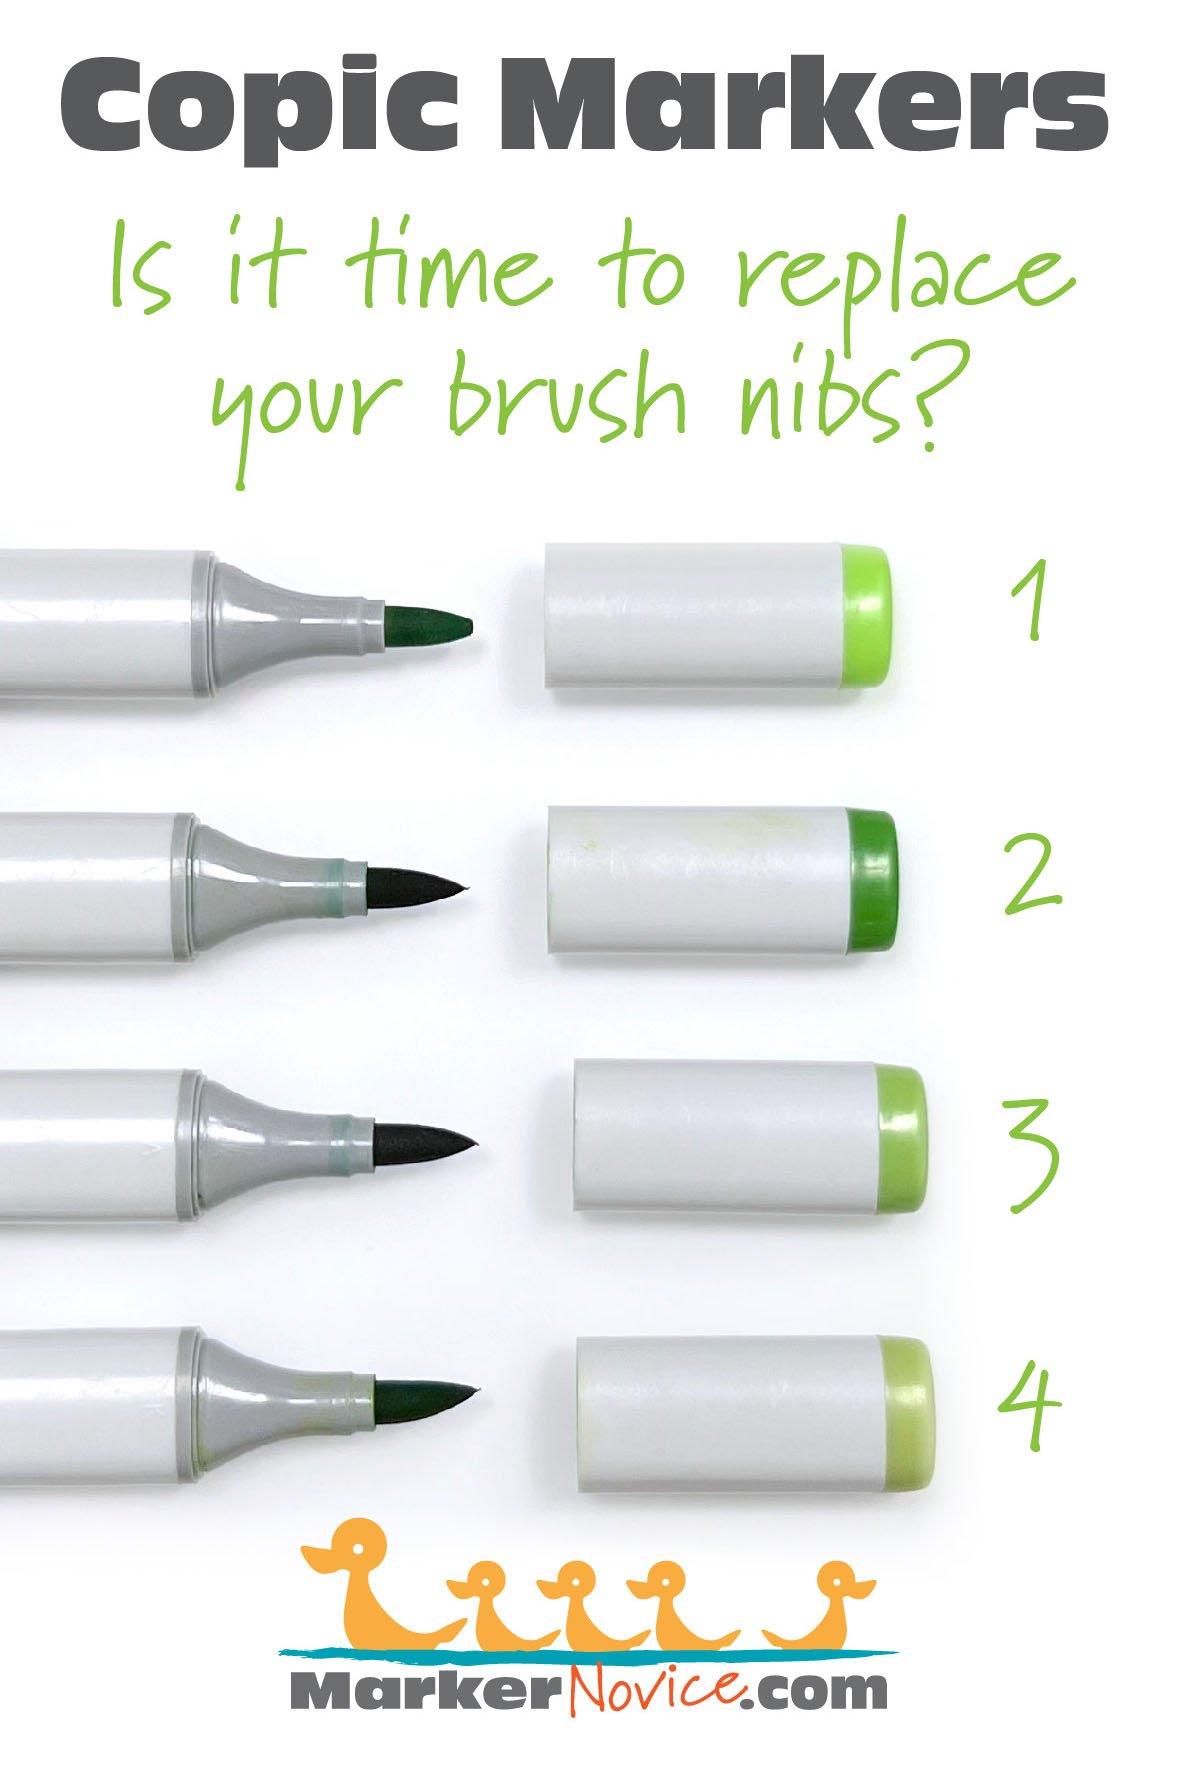
2. Stray Hairs: Before a nib becomes rounded, you’ll often see loose hairs hanging out from the point of the nib. These are fibers which have been pulled loose from the soft felt. Stray hairs can make unwanted marks as you color— it’s like a mini-marker with a mind of its own. One hair is usually the start of many more, as the felt fibers gradually untangle themselves. Instead of fighting the hair, just change the nib.
3. End Ball: These are related to stray hairs but worse. Instead of a few fibers, this is an entire clump separating from the soft felt hat. While a stray hair leaves little ink lines, a ball leaves darker squiggles and bumps. I’ve even had bumps fall off as I color, they lay on the paper making a dark spot. If you try to brush the ball away, they leave drag marks. I can deal with a hair but a ball is a no-go! Change the nib or you will regret it.
4. Bent Nib: See how this nib is flat on one side? It has lost the ability to spring back after bending. Basically, the hard-felt core in the center of the nib has started to go soft. This is a slight bend but I’ve seen students using far worse! I’ve seen nibs noticeably pointing in odd directions and I’ve seen (many!) students dragging floppy nibs across the paper like a wet rag mop. Change the nib immediately because this nib makes your coloring look sloppy.
The most important factor: FEEL
As you gain Copic experience, the markers become a natural extension of your hand. You’ll start to feel the nib as it glides across smooth or toothy paper.
Nib awareness is the first thing to tell me it’s time to change my nib.
New nibs feel springy and slick as I color. Old nibs feel spongy and they stutter across the surface. There’s also a slight response delay with old nibs, they resist turning and are slow to follow commands.
A good artist doesn’t waste time fighting their art supplies.
Change the nib when it feels wrong.
Not Shown Here: DEAD SPOTS
Dead or dry areas on the nib are another important reason to replace the marker nib, but today, I’m talking about signs of normal use, not marker abuse.
Dead spots are a symptom of Copic abuse.
White or light spots along the side of your brush nib are a sign that you’ve deliberately let your marker run dry by refusing to refill it properly.
You can kill a Copic Marker by failing to refill it regularly.
And I do mean kill. When you let a marker run dry, you allow the core to harden and cure. You can’t fix a cured core. You can’t replace the core, you can’t clean a core, you can’t soak it back to health. The marker is dead.
Because refill neglect is a much larger subject, I’ll link to my related article over on my other website, VanillaArts.com

How Long Do Copic Brush Nibs Last?
“Hey, Amy— I’ve only had my markers for a few months. Do I need new nibs already?”
Marker nibs are not like milk; they don’t have concrete expiration dates.
The longevity of a marker nib is determined by how you use it.

I’ve built a career using Copic Markers daily, so I wear-out nibs faster than someone who only colors on weekends.
The more you color, the sooner you’ll need new nibs.
My burn rate varies by color. My average is about one nib per year for most markers.
But I rarely touch some of my markers— many RVs, Ws, and some Es, can go years before I need a new nib.
Meanwhile B32, B60, BV23, V15, YG03, and YG17 may need 2-3 replacements per year.
But I’m an unusual case. My burn rate doesn’t help estimate yours.
Instead, let’s talk about common behaviors which cause excessive nib wear.
The more of these you do, the sooner you’ll need new nibs:
Do you use the same colors in most projects?
Do you draw with the marker?
Do you use paper not designed for markers? This includes copy paper, office grade cardstock, card maker’s premium cardstock, mixed media paper, any paper with laid or impressed texture, Bristol or illustration board, or watercolor paper.
As you draw or color, do you drive the marker? Driving is where you push the point of the marker as opposed to pulling the point where you want it to go. It’s like when you push the bristles of a paintbrush rather than pulling.
Do you color on the point of the nib more than on the side?
Do you color larger projects (over 8”) or expansive backgrounds?
Do you color with circular strokes?
Do you blend light to dark?
Do you blend using a scrubbing technique?
Okay, so those are all things which cause extra friction-wear on the soft felt cover of a brush nib.
Now let’s talk pressure.
Hand pressure shortens the lifespan of a Copic Brush Nib.
Heavy handed coloring where you physically use more force than necessary will kill a brush nib faster than friction. You’re not only wearing on the nib’s soft felt cover but you’re also breaking the hard felt core.
And this is where Copic beginners and once-in-a-while colorers lull themselves into a false sense of security.
Many beginners think “my markers are new”. Infrequent colors think “I only color once a month”. Both are trying to delay the inevitable purchase of replacement nibs.
The problem is, inexperience leads to greater nib damage.
Beginners and those with poor technique damage nibs faster than other colorers because they haven’t learned how to control hand pressure.
So there’s actually a similarity between my burn rate and the burn rate of a heavy handed novice using poor coloring technique.
Intermediate and advanced weekend colorers need fewer nib-changes than beginners and pros.
Weird but true.
Important Tip: Purchase Copic Nibs By the Dozen
When you shop for replacement brush nibs, I recommend buying several packs at once.
Buying in quantity may get you a nice discount but that’s not why. When you only have 3 extra nibs, it changes how you evaluate a worn nib.
Scarcity creates stupidity.
If you only have a couple replacement nibs, you’ll treat them as precious and you’ll color too long on a dead or dying nib.
On the other hand, if you have lots of extra nibs in a cute little jar by your coloring desk and they’re ready to go at a moment’s notice, you’ll start changing nibs as often as needed with no debate, drama, or angst.
How to Replace a Copic Brush Nib
Okay, let me start by saying— Copic makes a very nice set of serrated tweezers, designed especially for removing Copic nibs.
But if I’m honest, I never use the tweezers. Never.
I can see how they’re handy. Copic brush nibs are a bit fragile. It’s easy to accidentally pull off just the soft felt “party hat” instead of removing the whole nib.
And darn it, once you take off the party hat, it never goes back the right way.
So if you intend to remove a brush nib and then put the same brush nib back? That’s when a dedicated set of specialty tweezers makes sense.
But me? I’m throwing bad nibs in the trash.
Tweezers only slow me down.
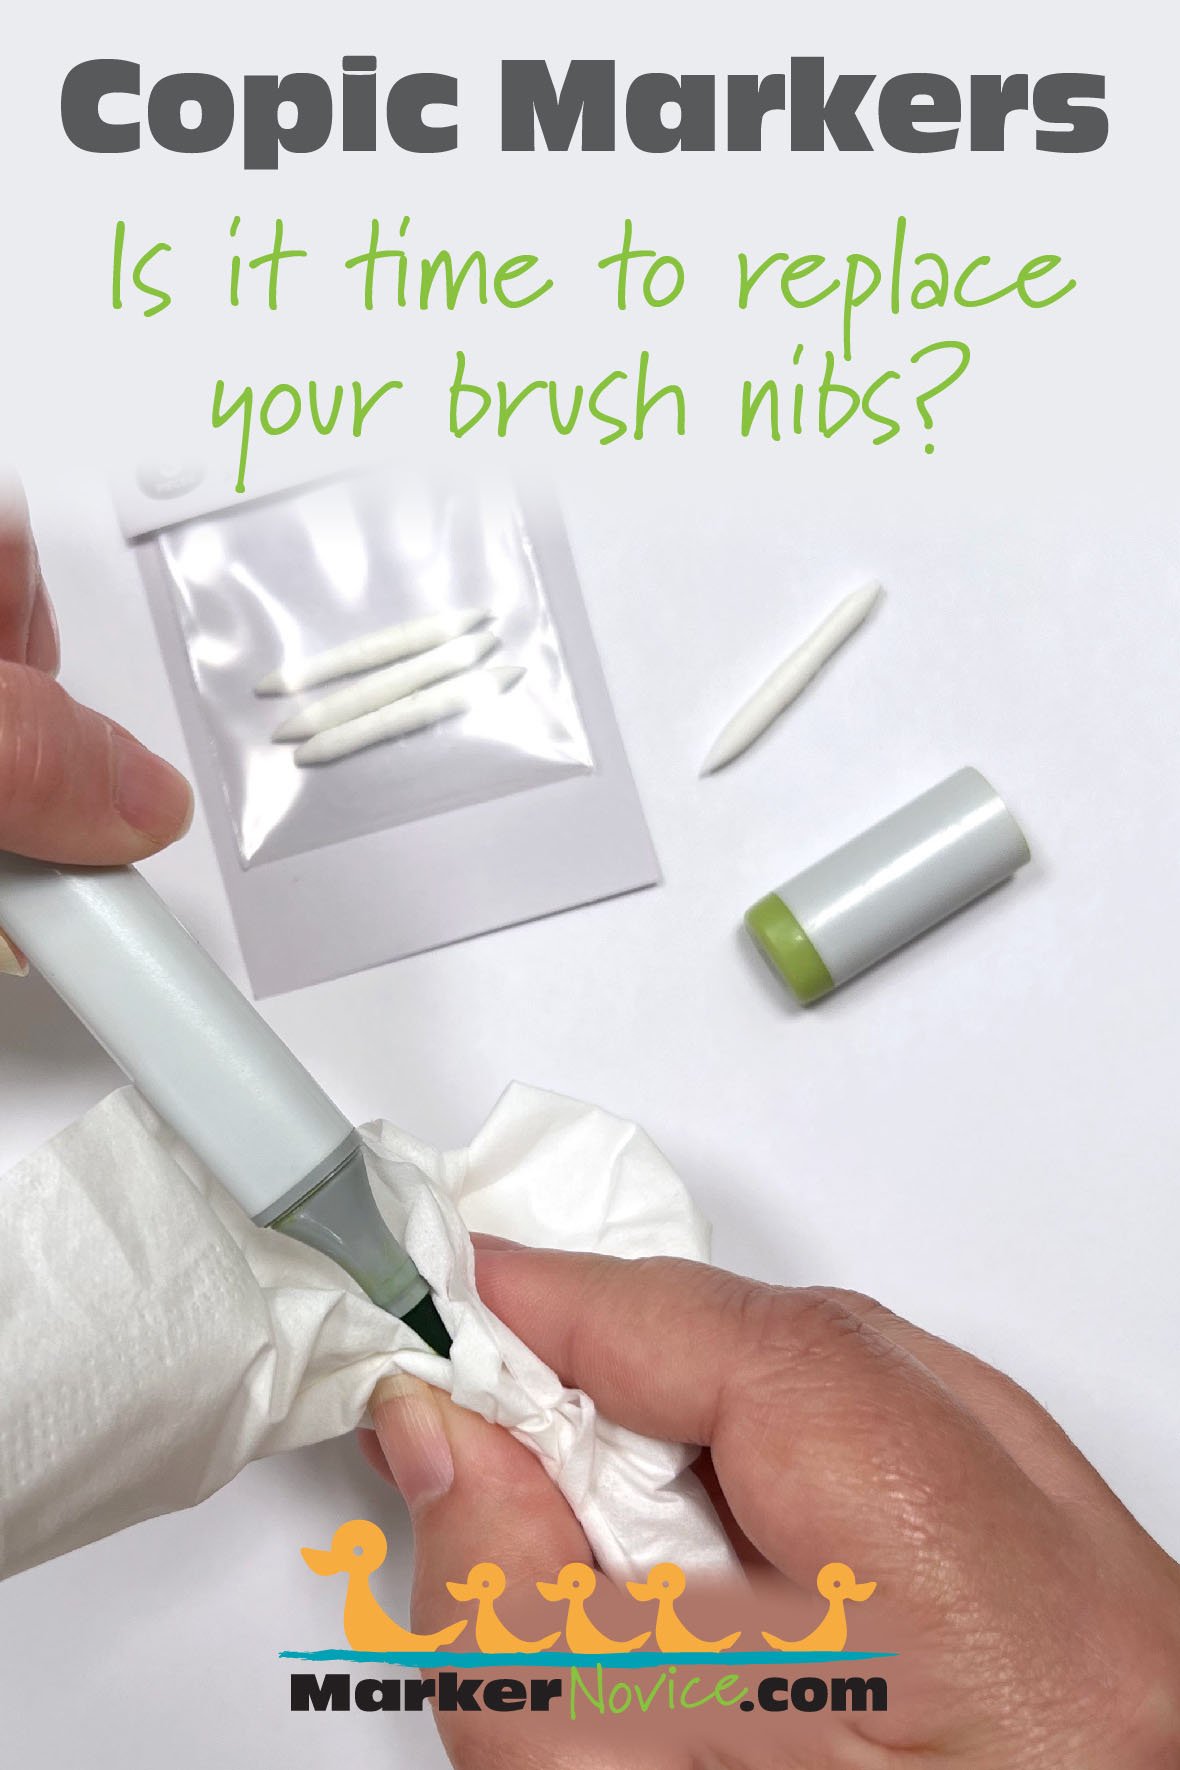
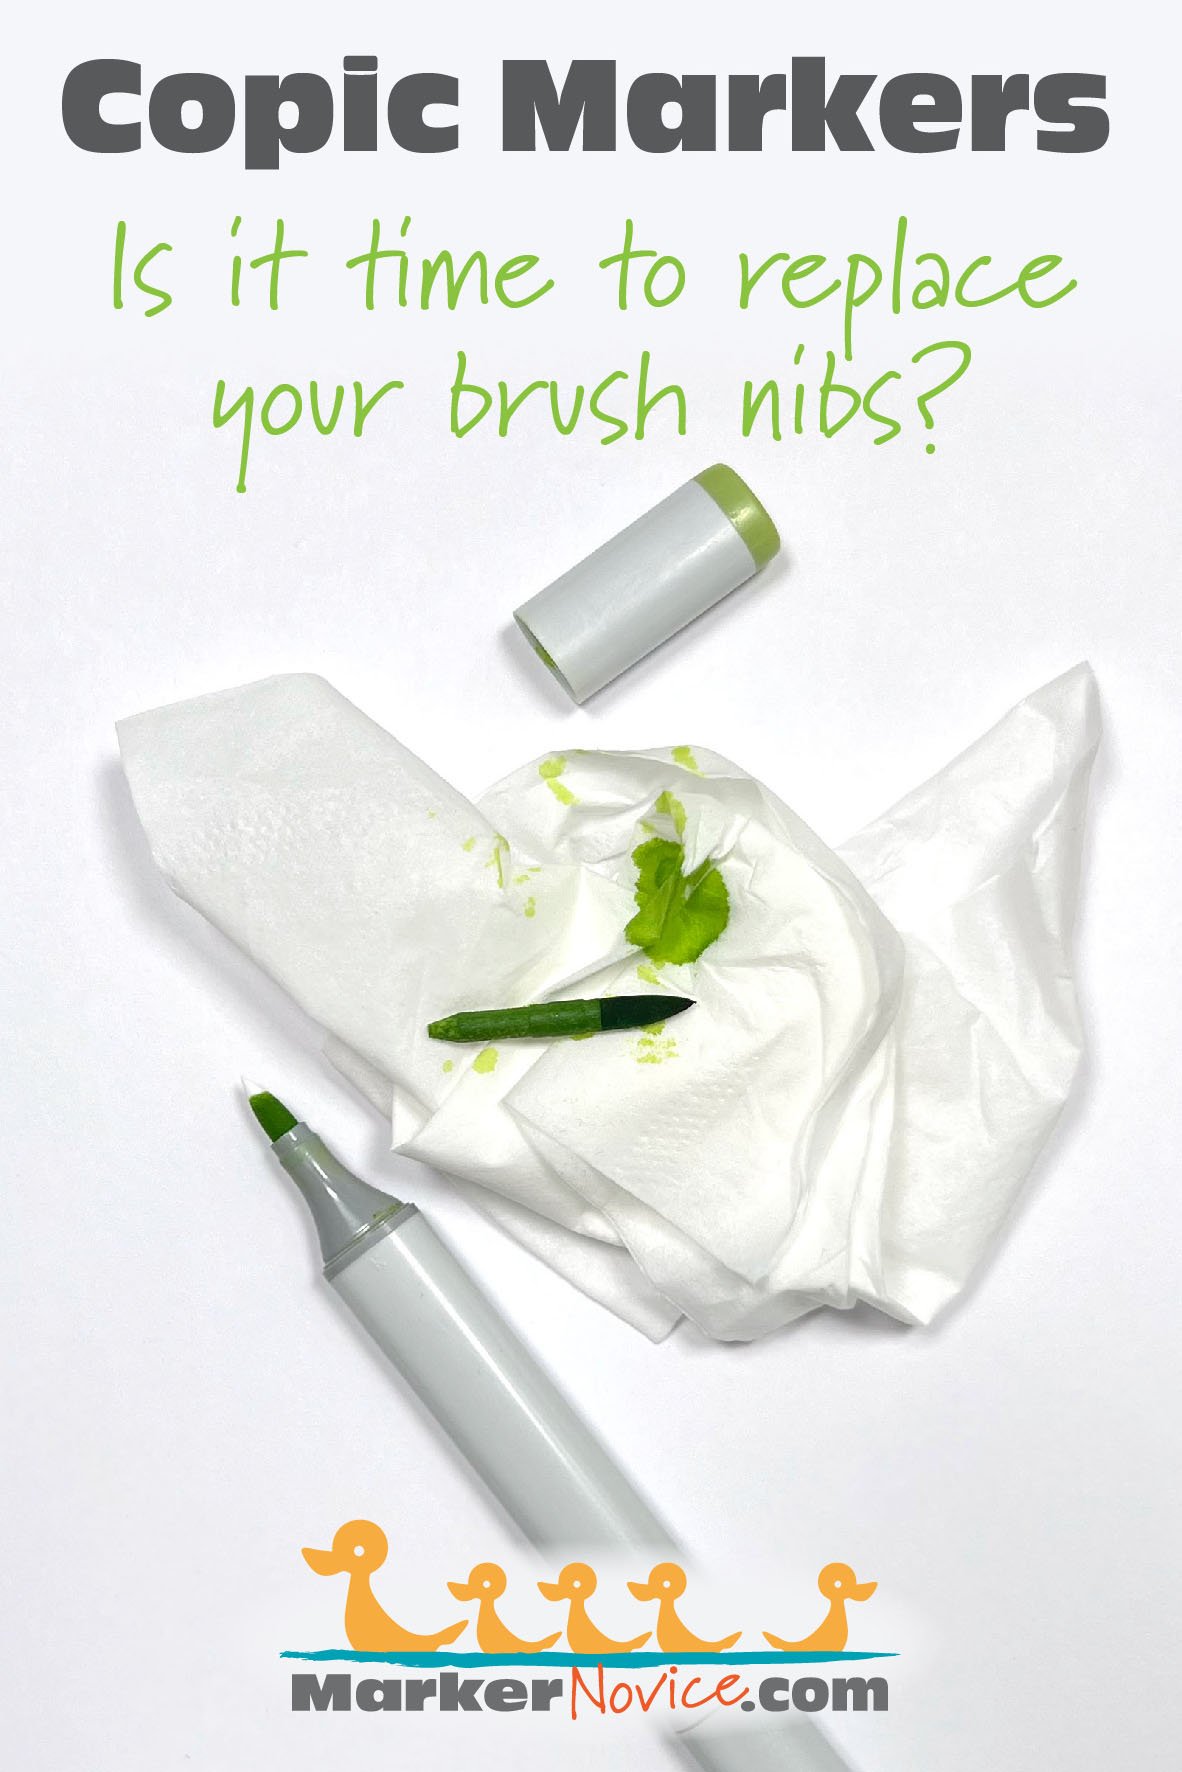
How to replace a Copic Brush Nib:
This method works for both Super Brush Nibs and Standard Brush Nibs. Actually, I use this method with chisel nibs too.
To prevent inky fingers, I grab the old brush nib with a wadded-up facial tissue. Don’t squeeze too hard because like a sponge, the nib will leak ink when pressed. Medium firm pressure will do.
Make sure you’re grasping the nib close to the plastic housing. If you pull just the point, you’ll only remove the soft felt “party hat”.
Pull firmly, straight out. If you accidentally remove just the party hat, go back for a second pull. The hard nib-core will not resist if you have a proper hold on it.
With the brush nib fully removed, I take the opportunity to refill my marker via the open end. I refill by weight using the method mentioned in the video and article below.
Look closely at the replacement brush nib. The drawing end is soft to the touch and comes to a perfect point. The insertion end is hard has a flattened point.
Using just your fingers (no tissue) insert the flattened point into the open end of the marker barrel. Push moderately firm until you feel the nib make contact with the stopper inside the marker. This doesn’t require excessive pressure, so don’t bend the nib trying to force it further than it wants to go. The nib will naturally stop when the bottom edge of the party hat is just inside the rim of the dark gray plastic. Pushing it farther with force will damage the entire marker.
Now watch and wait as the nib starts to pull ink from the marker. The righthand photo above shows a new nib, almost full. It takes 30-60 seconds for the ink to completely crawl up to the point. If it takes longer, your marker is either low on ink or the marker has permanent interior damage.
Once the nib is fully saturated with ink (color all the way to the point), it’s ready to be used again.
At this point, I clean the barrel and caps, removing both new ink smears and old crusted ink using the tissue we used earlier. Lightly moisten the tissue with rubbing alcohol. You want it damp but not dripping. Wipe the barrel and neck lightly, then push inside the cap to clean there. Avoid getting rubbing alcohol on the new nib (because rubbing alcohol contains 10-30% water).

Can You Revive a Dead Marker Nib?
Trim it with scissors! Rub it on a rough paper towel! Soak it in colorless blender! Soak it in rubbing alcohol! Dry it under the light of a full moon while reciting this incantation!
Can we not?
Cleaning an old nib is more trouble than it’s worth.
Granted, coloring is my job, so I’d have to clean a lot of nibs. Plus, I go back to the olden days before replacement parts when we routinely threw markers away without a second thought.
Maybe this is why I have a surgeon’s emotional detachment when it comes to tossing Copic brush nibs.
If it’s not working, rip it out!

I do not understand the whole drama about resuscitating damaged nibs.
Maybe if it was the last nib in the world? Then I might be able to justify it.
Maybe.
A replacement nib is under 2 bucks. Most rescue advice involves expensive solvent and several days.
Nope. No thanks.
My time is worth more than that. So is yours.
But here’s the other thing… soaking nibs in alcohol doesn’t work.
Back when I was younger and it took two weeks to receive a Copic order in the mail, I tried soak-cleaning a brush nib.
It was a dark red, possibly R39 or R59. One side of the nib was black and gummy, so I pulled out the nib and popped it into a glass baby food jar filled with laboratory grade Ethyl Alcohol. Lab grade alcohol is like colorless blender on steriods. Being married to an engineer in a chemistry lab has its perks.
I soaked the nib overnight but it didn’t come clean. I scraped away some of the gunk with my fingernail and popped it back in with fresh alcohol. Each day, I de-gunked and freshened the old ethyl until finally, the replacement nibs arrived. At that point, I forgot about the old nib and it got shelved with a bunch of acrylic inks.
THREE YEARS LATER, I found the baby food jar full of red ethyl and inside, the nib still had gooey gunk on it.
This is why I roll my eyes when folks talk about squishing a crusty nib in a ziplock bag with a couple tablespoons of rubbing alcohol.
It sounds like it’d work but my experience says otherwise.
It’s a waste of time and supplies.
Plus, soaking doesn’t fix the wear and tear from friction and pressure.
Just get a new nib. Your time is better spent coloring.


So there you go…
How and When to Replace Worn & Dull Brush Nibs
Copic nibs do not last forever.
Replace brush nibs when they show wear, stray hairs, bends, or off-color spots.
This will insure you always have a juicy, springy, pointed nib.
New nibs make your coloring look better, they also improve your blends and make it easier to stay inside the lines.
Your coloring is only as good as your nibs
So always keep your markers full and in good condition, ready to support your best coloring ever!
By the way…
This article talked about Copic brush nibs but the information also mostly applies to chisel style Broad or Medium nibs. Fewer people use their chisel ends much, but chisels still get fuzzy and wear down.
Amy Shulke is a professional illustrator who has used Copic Markers since 1990. She teaches artistic coloring classes online at VanillaArts.com and locally in south-eastern Michigan.
Marker Novice is Amy’s completely free resource devoted to beginner marker education. For intermediate/advanced artistic coloring articles, see her Studio Journal here.

Further reading on related topics:
(click the pic to read article)


Summer’s Kiss
Are you ready to add artistry to average coloring
Introduction to Color Kissing
You’ve been blending with light, medium, and dark blending combinations, which were fun at first but now they make you yawn. Is this all there is to coloring?
Heck, no! Join Amy for an eye-opening less which will change how you color— adding artistry and amazing pops of unexpected color.
Amy Shulke’s "Scarlet Geranium"
Scarlet Geranium is an intermediate level coloring classes. Basic blending techniques are not covered.
Class package includes full video desmonstration plus digital stamps in several formats. Easy print PDF guides include recipe, full color sample, photo reference, and grayscale guide.
Build your own Copic Maintenance Kit:



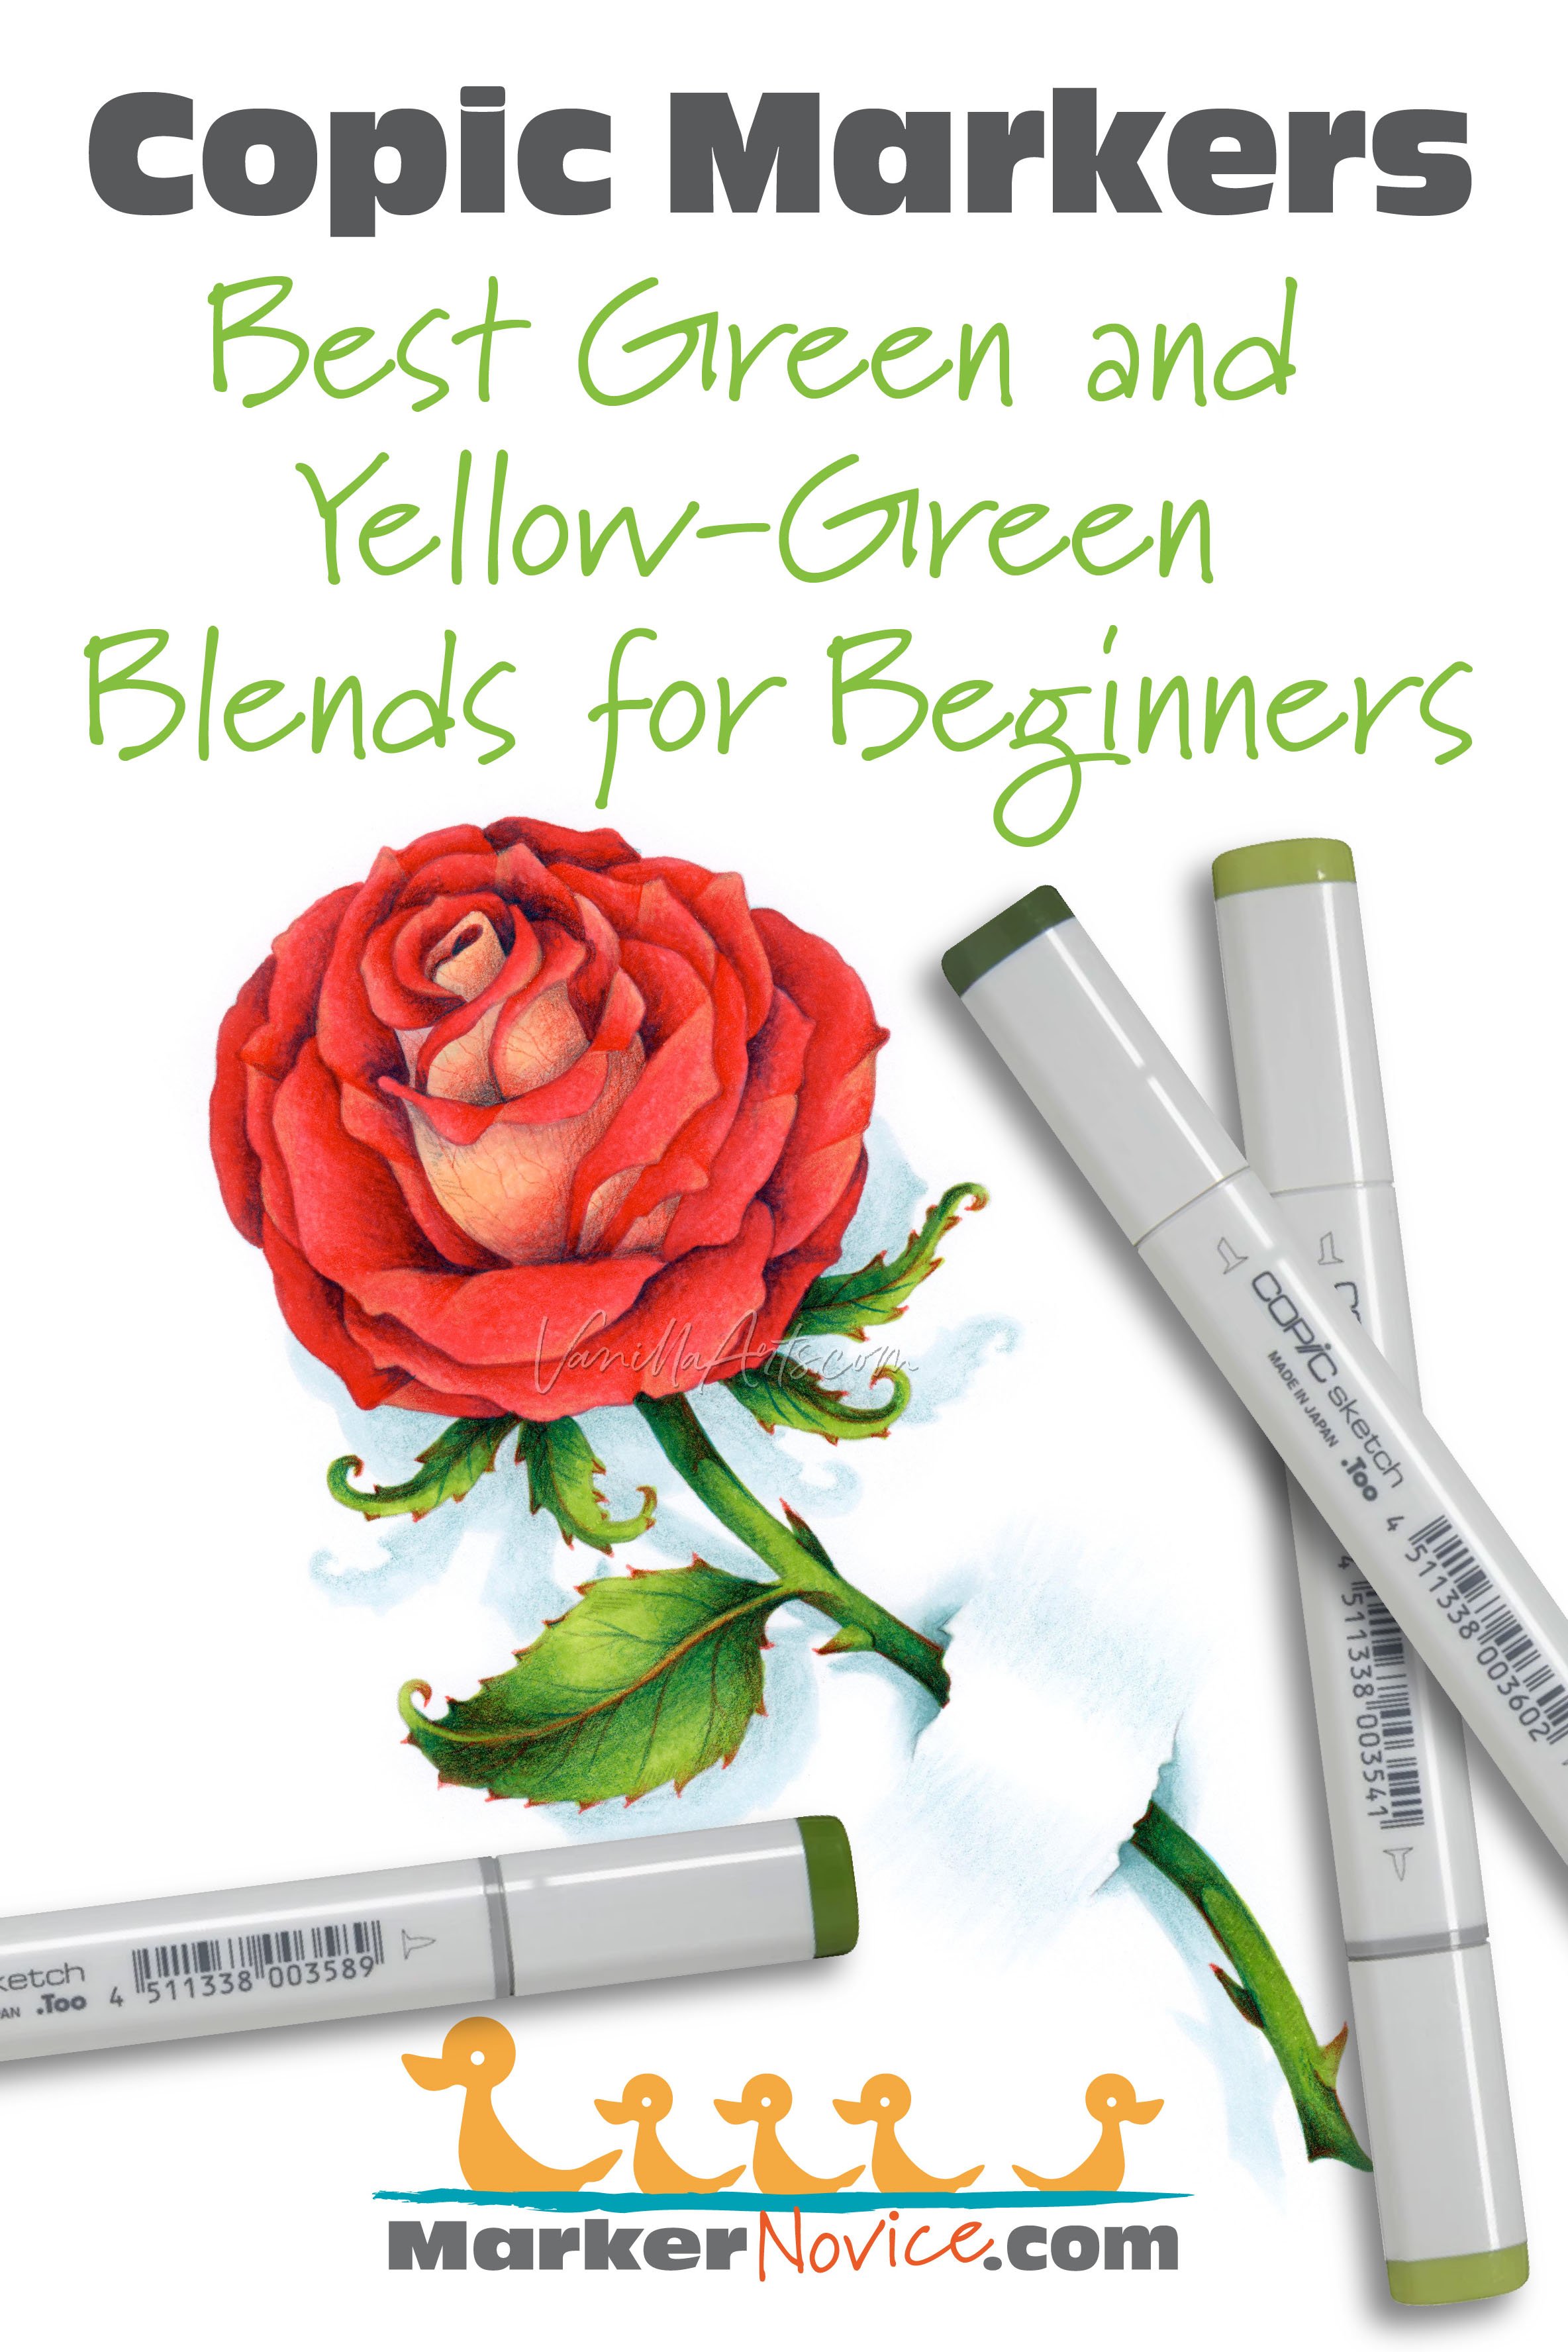
Best Beginner Copic Marker Blends: Green & Yellow-Green
Which Green and Yellow-Green Copics are Best for Beginners?
I asked three of my favorite marker instructors about which green and yellow-green markers they recommend for first time colorers.
Which markers offer students the best value?
Which Copic G and YGs are versatile enough to color many different green items?
Which green blending combinations do we teach with?
Which YG and G markers do we use in our own work?

Are you new to Copic Markers and wondering which colors to purchase first?
When you’re a beginner, selecting a handful of starter markers can be intimidating. There are so many colors! Which is best?
Is this a good green? It’s pretty but will it blend with anything?
Even with an art degree, I made rookie mistakes. Many of the Copics from my first set of 72 are still gathering dust today!
If I could go back in time, I’d focus on useful blending combinations rather than boxed sets and random Copics from the clearance bin. It’s only a bargain if you actually use the marker!
In the spirit of helping you avoid my mistakes, I started to wonder:
Which Green and Yellow-Green Copics are Best for Beginners?
I asked three of my favorite marker instructors about which green and yellow-green markers they recommend for first time colorers.
Which markers offer students the best value?
Which Copic G and YGs are versatile enough to color many different green items?
Which green blending combinations do we teach with?
Which YG and G markers do we use in our own work?
Which G and YG Copics are Best for Beginners?
If you’re new to Copic Markers, we recommend YG03 & YG17 as your starter greens. Add to this combination depending upon your taste. YG67 makes an excellent dark. YG21 adds light. For realism, underpaint with blue or violet.
We don’t recommend G markers for beginners. Skip the Gs to save money.
Let’s talk to four Copic instructors to learn more about Copic their favorite G and YG blending combinations.
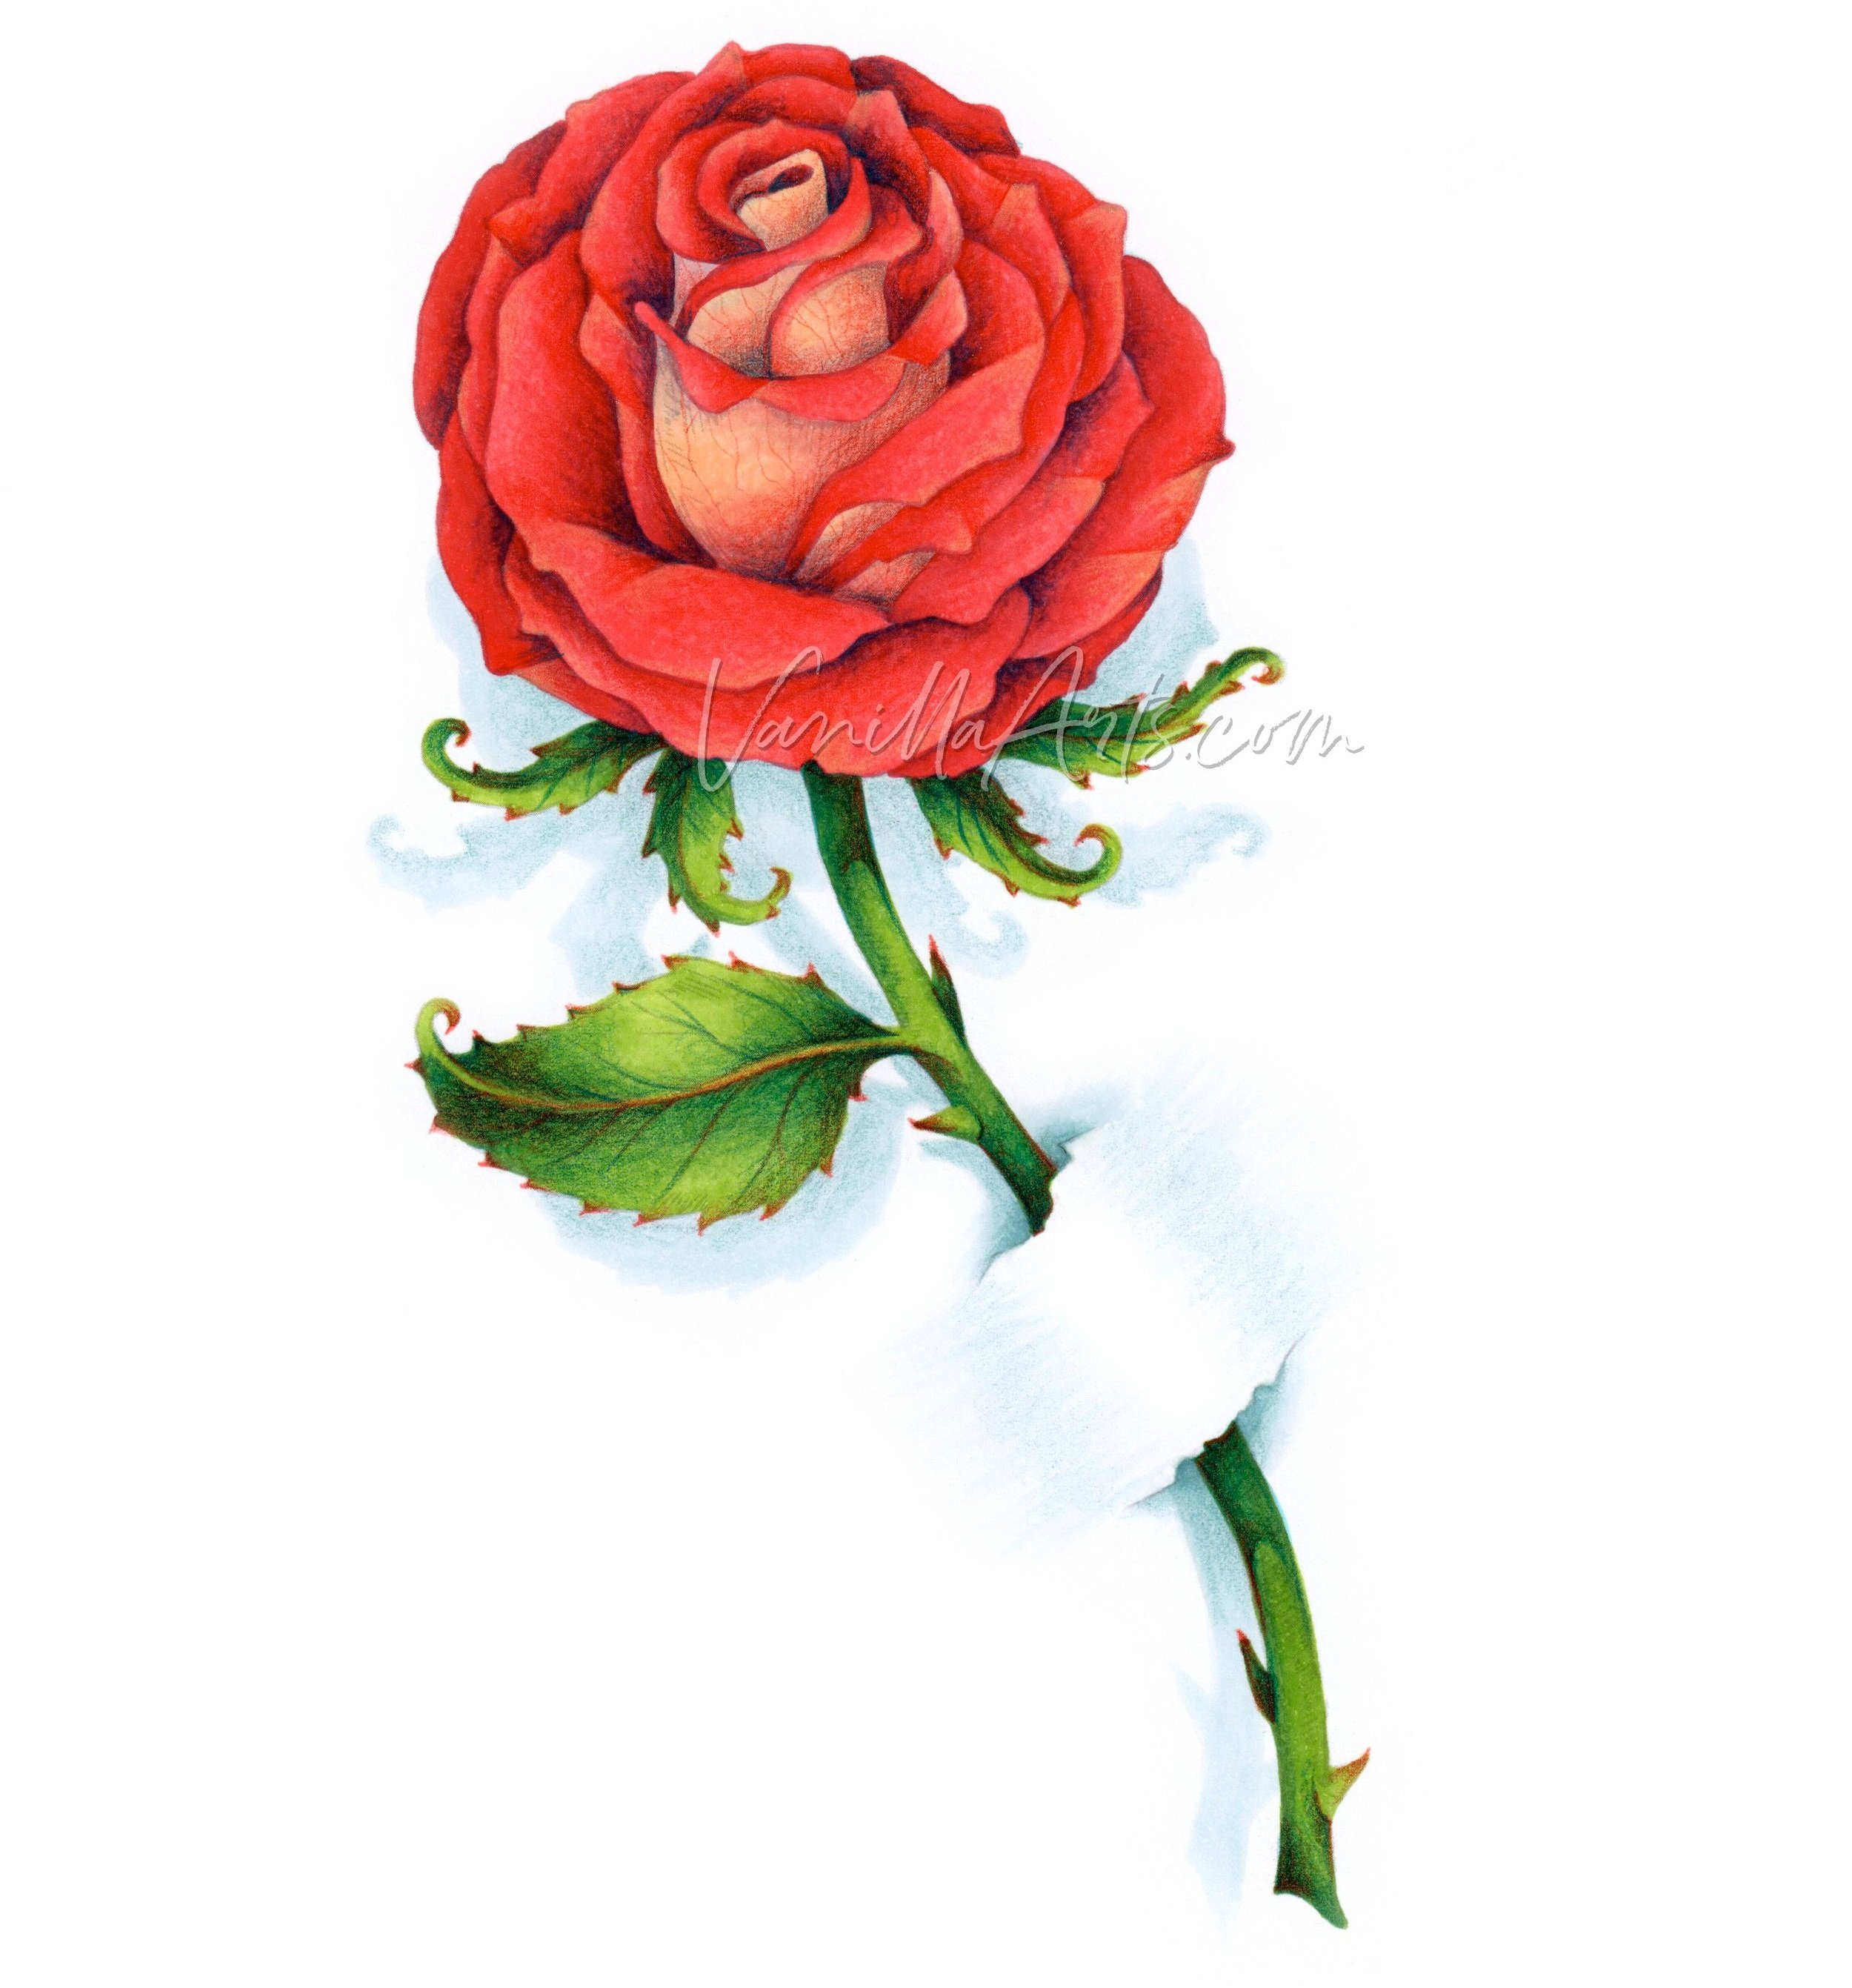
“Rosie Gets the Blues” Image from PowerPoppy.com, modified and colored by the author, Amy Shulke. Copic Markers and Prismacolor Colored Pencils on X-Press It Blending Card. Amy’s online class featuring this image teaches the secrets to easy complimentary blending. More info here.
Michelle Houghton’s Favorite Green and Yellow-Green Copics
Note: As of 2024, Michelle is not currently teaching Copic classes. Find Michelle on her Copic in the Craftroom channel at YouTube and at Scrapweaver.com
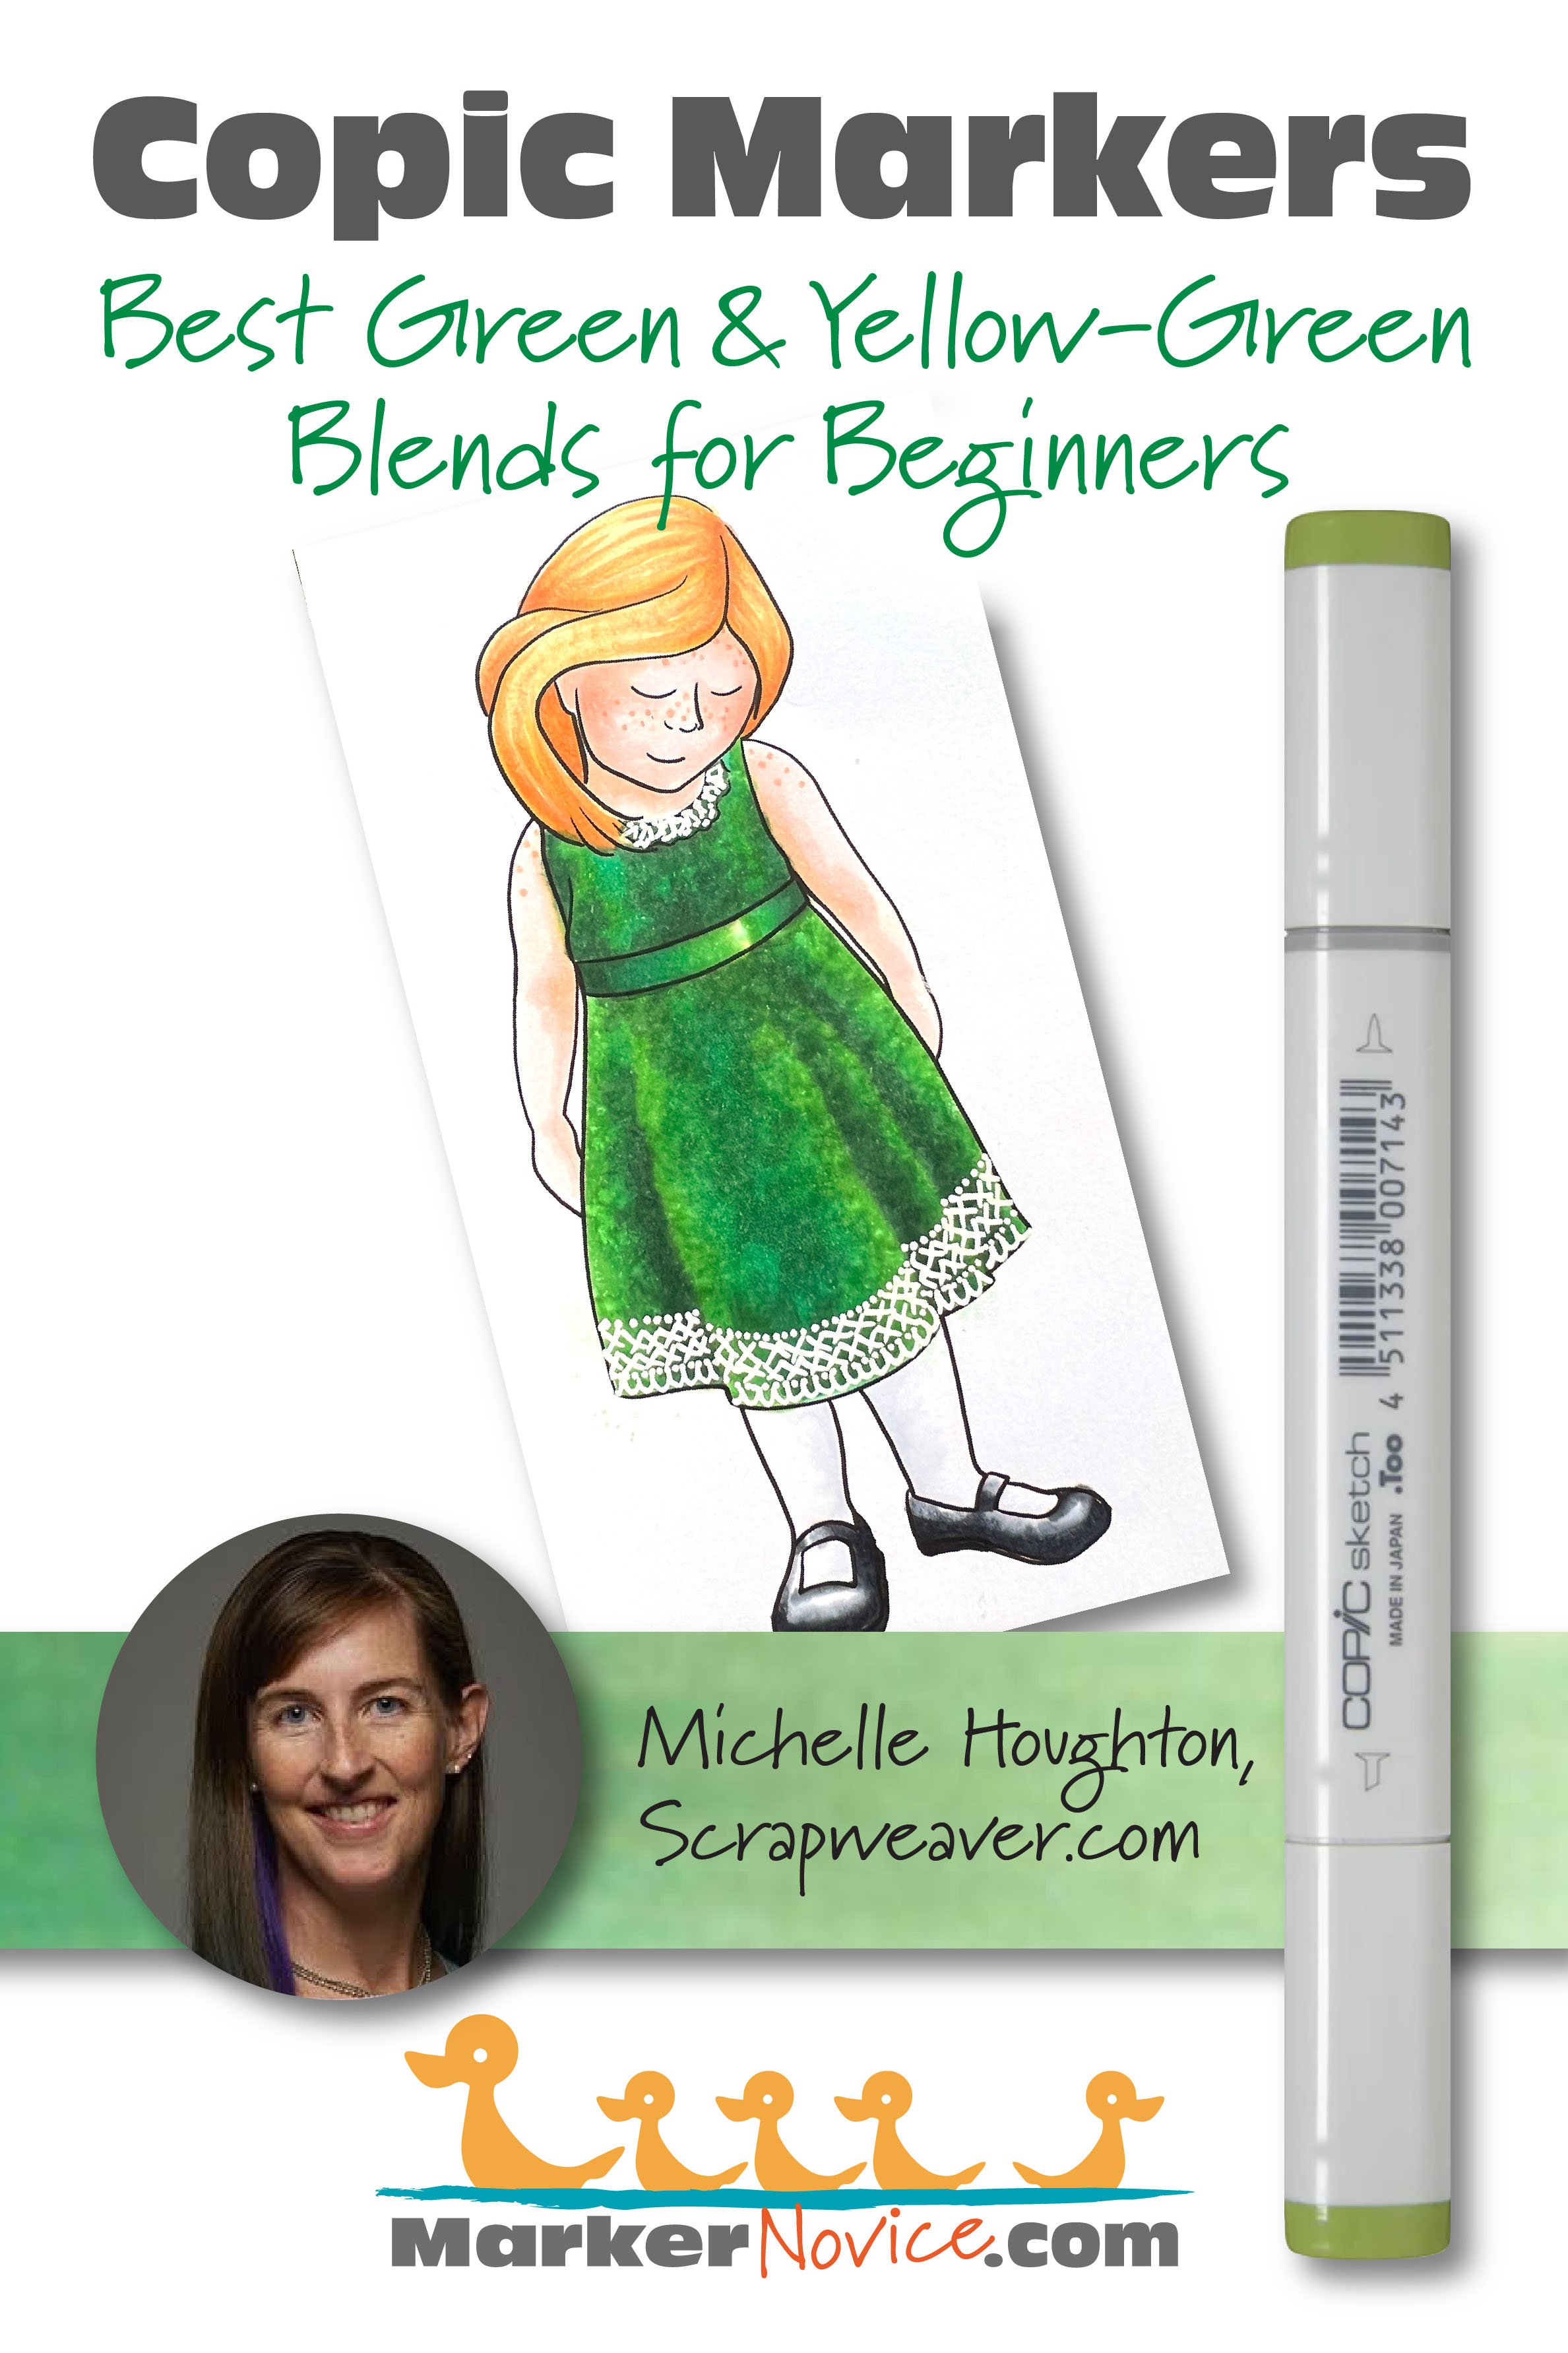
Before we get to Michelle’s marker recommendations, I’d like to point something out…
Did you notice that this article covers both Green and Yellow-Green markers families?
There’s a reason.
All four Copic instructors in this article agree: We do not use G markers enough to recommend them for beginners.
Especially not when there are so many beautiful and easy-blending Yellow-Greens available!
Michelle explains why:
The G green Copic family regularly gets passed over for the yellow greens at my desk.
I think it has to do with WHAT I am coloring. Often, I’m coloring areas of foliage, leaves, grass, trees, etc. When I look at green objects in nature, they tend to lean toward the yellow side of the green family, so naturally, I reach for my YG markers.
I may use a G marker to cool the color of a leaf in cast shadow or for plants which lean into the blues like the needles on evergreen trees.
But more often than not, when I reach for a G Copic it’s for clothing or accessories, something that could just as easily be colored red or blue. In these cases, I’m choosing to color them green because I feel guilty for not using my G markers more often.
This is why you’ll see a strong theme repeated by each instructor here today.
Independently, we all find ourselves using YG markers far more than Gs.
So now that we’ve discussed what we don’t use, let’s get to the recommendations.
Michelle recommends YG01-YG03-YG63 for beginners.
As someone who teaches realistic coloring classes, I love Michelle’s YG combination even though I’ve never tried it before.
My reasoning is this:
YG01 is a lovely pale green with a strong feeling of sunshine to it.
YG03 is the easiest blending marker in the entire Copic collection. This marker is perfect for beginners because it literally blends with anything— I’ve even blended YG03 with Black 110 before!
And YG63 is one of my go-to green markers for realism. It has a gentle murkiness to it which perfectly captures the look of chartreuse in the shade.
I followed up with Michelle, to ask if she could also give you a good G combination— just in case someone reading this already owns a few Gs.
Michelle says:
“I don’t often reach for the G’s but when I do it is either G21-G24-G17 or G40-G43-G46”
Notice how Michelle jumps from the G-Twenties to G17? That’s particularly interesting to me. I’ll have more thoughts on this in my recommendation section below.
In the meantime, be sure to watch Michelle’s Copic in the Craftroom videos at YouTube. She has a ton of G and YG demos and tips for you. I’m only linking here to half of what she has available! Michelle is a valuable resource you simply can not miss.
Michelle’s YG info:
Michelle’s G info:
__________
Michelle is an elementary school teacher (BS Fine Arts, MA Education) with over 20 years of paper-crafting experience. She’s is a former Copic Certification Regional Instructor for Imagination International. Michelle runs the Copic in the Craftroom website and YouTube channel. Her Copic College events are favorites with Copic fans at all levels.. Visit her at Scrapweaver.com.
WE ASKED YOU!
Half of Vanilla Arts readers say YG67-YG17-YG03-YG01 is their favorite green blending combination.
And here’s where there may be a bit of bias showing…
Most Vanilla Arts readers are also Vanilla Arts students and I teach with these greens.
But for people to overwhelmingly cite this as their favorite and to use it in their personal work? It’s a sign that this combination not only blends easily but also looks great!
Cordine van der Touw’s Beginner Yellow-green Blend
See Cordine’s latest projects on her Facebook page here. You can also find her at Copic Marker Europe and Cordine’s latest classes for Copics at Colourstock.
Cordine recommends YG67-YG17-YG03 for your first green blending combination.
Cordine says:

I love the Vanilla combination of YG67-YG17-YG03, colored dark to light. I frequently underpaint it with B34.
This combination is easy to change around. I can go darker if I underpaint with B34 or go lighter if I leave the YG67 out of the combination.
What’s interesting is that Cordine’s tulips here use my Vanilla-student green combination and yet I didn’t recognize it!
This is because every colorer changes the look of a blending combination based upon their unique coloring instincts.
Cordine used the darker markers sparingly which makes her leaves look sunkissed and lightweight.
Compare Cordine’s leaves to the color swatch behind her photograph. I colored the swatch! We used the same markers and yet they look totally different!
I color like me and Cordine colors like Cordine. We’re different people and our coloring looks different too.
That’s actually a great beginner tip: Don’t feel bad when you faithfully follow a marker recipe but get different results. Everyone creates a distinctive look because we all use the colors in unique ratios. As long as it looks good, it doesn’t have to match the original sample!
And what about G markers?
When I asked Cordine for her favorite G combination, she quickly responded, “Nope, I pass on this color”.
Keep reading because Elena can help explain why we’re all less than enthusiastic about Copic’s G Markers.
__________
Cordine is an office manager in The Netherlands. She’s an avid paper crafter who loves card making, scrapbooking, and coloring stamps with Copic and colored pencils. She has taught Copic since 2013 for Colourstock as the Benelux region representative (Netherlands, Belgium, and Luxembourg). Contact Cordine here.
Elena Cazares’ Favorite YG Copic Blend
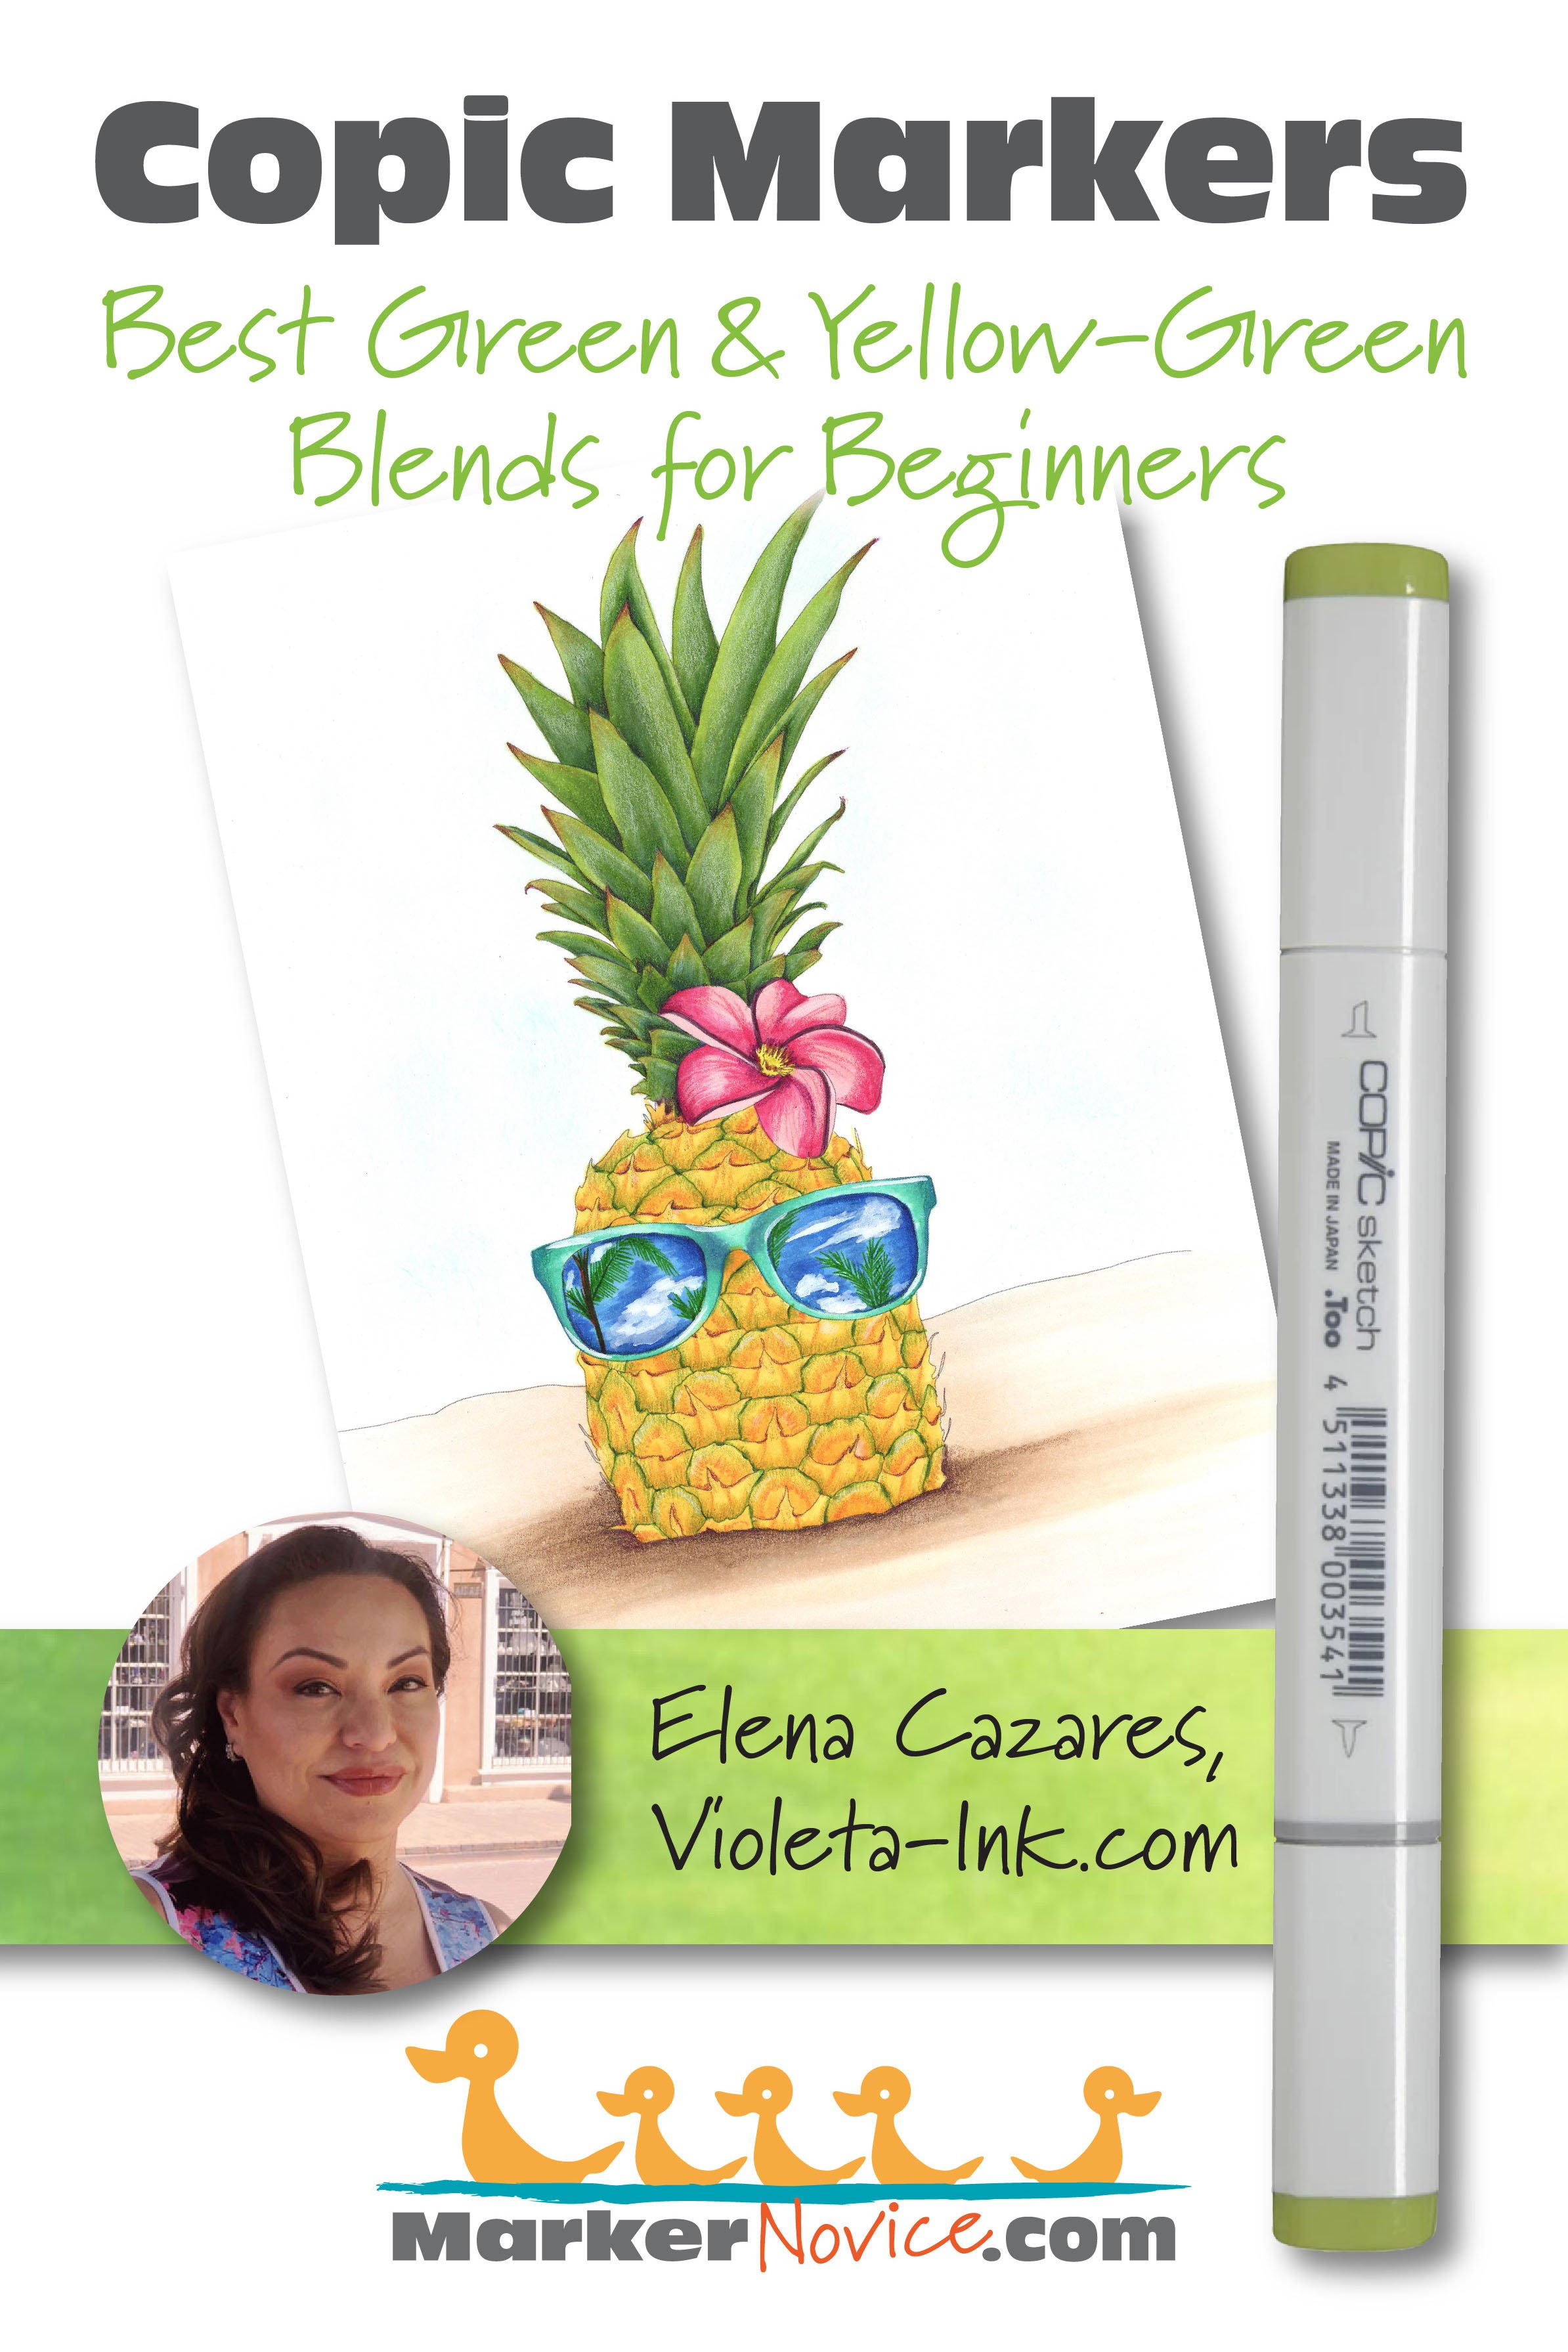
Elena recommends B34-YG17-YG03-YG00 for beginners. She colors them dark to light.
For Elena’s combination (as with all underpainting combinations) you must cover the blue completely with the YG17 to create the look of dark green.
Why does Elena love this B to YG combination so much?
This combo blends beautifully and it’s my safe haven. When I challenge myself on the flower petals or other hard parts of an image, I always fall back on this easy-blend recipe because I know it will work.
It’s a safe green but it’s definitely not plain looking!
The blue provides lots of shadiness to the darker end but YG03 and YG00 are bright and happy. This gives you lots of value range and makes your leaves very dimensional.
Plus, YG03 is just an amazing blender. Every marker blends when YG03 is there to make them play nice!
And what about a G marker recommendation?
I love to color botanicals and the G family doesn’t give me the natural, organic feel I want. So I really don’t have a G combination to recommend.
The G greens all have blue hints, especially the lightest ones. G colored leaves just don’t look right to me. They give off a mint feeling which I really don’t like. I want my flowers to be warm and full of life!
I will use Gs if I can’t avoid it, like for a class or in a demonstration but I don’t get excited about them. I bought almost all the G markers at once and was really disappointed with the way they looked. I thought I was getting a bargain but I just don’t use them a lot. I could have saved the money and bought better paper or coloring classes sooner!
Amy Shulke’s Favorite YG and G Blending Combinations
Hey, that’s me! You can find me here at MarkerNovice.com or at my artistic coloring site, VanillaArts.com.
So let’s get this out of the way right now. In some of my “Best Beginner Blend” articles, the four instructors here often disagree. Sometimes we disagree as a matter of taste, sometimes we’re simply recommending what we’re used to teaching with.
But today, we’re ALL in complete agreement. Beginners can skip the G family of markers.
In fact, we basically skipped a G article today. The Greens are so unnecessary that we couldn’t even give them their own spotlight.
I do not recommend G Copics for beginners because the Green family are harder to blend.

Ease of blending is incredibly important in my classes!
I only teach the blending process in a few beginner classes. After that, my workshops focus on more important things like underpainting, color sculpting for realism, casting shadows, and developing your artistic voice.
We don’t have time to waste on blending technique so I’m never going to tell students to drag out stubborn markers which misbehave or make them want to cry.
Besides, even if you do blend G markers well, they’ll still look weird and artificial. So all that work, for no payoff? No thanks!
If you didn’t catch the hint from Cordine and Elena above…
I teach beginner classes with YG17 and YG03. We underpaint them with either B34 or B23.
My personal favorite YG combination is BG05-YG17-Y03.
And if I’m shooting for realism, I use BV23-YG17-YG03.
See how I’m using the same two YG markers and changing the underpaint based on the situation? That’s versatility!
Plus, YG17-YG03 blends like a dream. You can blend it in your sleep.
You can see BG05-YG17-YG03 at work in my rose project here. A lot of folks assume I used green markers but that’s the magic of underpainting! I can shift the temperature of YG markers to create the look of a G marker without the notorious G behavioral issues.
Behavior issues?
More about green Copic behavior issues in the next section down but for now, understand that Gs are not beginner friendly. This makes it really hard for me to recommend a G blending combination today.
But if you’re going to push me— on a personal level, I’m very drawn to G24. The color indicator on the G24 cap is enticing, it’s my ideal greeny-green. “Willow” is a beautiful color and probably the most organic G marker Copic makes.
The problem is that there’s no one for G24 to play with. Normally we’d combine G24 with other markers from the G-Twenty family but G24 sits in-between two evil stepsisters. G28 refuses to blend with anyone and G21 has so much solvent in the mixture that it erases almost any color it touches.
So I can’t recommend G24 but I do want to try Michelle’s G21-G24-G17 combination. Maybe that’s the trick? I don’t know.
Like Michelle, I also use the G-Forty family but I add violet. I’ve taught with the G-Forties but they make a stylized green, not a realistic one.
And I’m very glad Michelle was so honest earlier about Green Guilt. I’ve felt the same thing. I don’t use G markers very often but I know my students want to learn how to use every Copic color. So when you see me using G, it’s usually because I’m catering to students, not because I like G markers.
If I have to recommend a G Copic combination, try V20-G46-G43-G40… but honestly, I’d skip it and purchase more YGs instead.
Do beginners need to underpaint green?
Not really.
If you’ve never drawn, painted, or used Copics before… well, there’s a lot to learn about Copics before you’re not a beginner anymore.
So concentrate on learning to blend before worrying about how to underpaint.
But once you’re blending well?
Yellow-Green is the easiest of all the Copic families to underpaint.
This is why I teach beginners to underpaint YG from the start. It’s the perfect introduction to underpainting because friendly markers like YG03 make the process so forgiving.
And once you learn to underpaint YGs, you can translate the technique to the other less-friendly color families.
But here’s the other reason why I encourage you to eventually add underpaint: Copic does not make many markers in realistic shade colors.
Real shade is not darker, real shade is murky.
Copic specializes in bold and bright colors, so when it comes time to color realistic shade and shadow with Copic, you have to mix correct shading colors yourself.
Underpainting is how we create new Copic colors.
Underpainting makes realistic coloring much easier.
Give underpainting a try with the YG family. They’re the easiest way to start.
Can you mix Copic G and YG markers together?
Absolutely!
You can blend any Copic marker with any other Copic marker.
Yes, some markers blend together more easily and some blends are definitely prettier than others…
But all Copics can blend with each other.
Why are green Copics stubborn?
G Copics have a few behavioral quirks. They’re stubborn blenders.
We actually call G28 “Satan’s Spit” because this marker doesn’t want to play nice with anyone.
(Make G28 your last green marker purchase. Use G29 instead.)
As a beginner, you may think of Copics as one kind of marker which comes in many colors…
But that’s not how it works.

Every Copic color uses a different ink formula. Each ink has unique behaviors and characteristics.
Copics are more like 358 people who all happen to find themselves in the same pizzeria on a Friday night. They all like pizza but the similarities end there.
The G family relies on several green inks which all have the nasty habit of staining the paper.
G ink is a “staining ink”; it soaks into the heart of the paper fibers and it doesn’t want to budge. This makes blending a challenge for beginners and frankly for advanced colorers who aren’t paying attention.
Staining inks make your blends look unsmooth or “choppy” but they also cause other issues:
Over-inking & oily patches
Shattering
When a green ink stains the paper, it requires more coats of blending ink to smooth the blend. Because you’re using more ink to blend, you run the risk of soaking the paper to the point where the paper can’t physically absorb more ink. When you over-ink, your coloring looks blotchy and oily.
Shattering is when you hit a medium or dark color with so much blending ink that the dark colorant starts to break apart into its simple ingredients. Green ink is a mixture of blue and yellow ink, so when green shatters, you’ll see blotches of yellow or blue and sometimes even pink, usually around the edges of a heavily blended area.
Yellow-Green ink is different. YG is a combination of green ink plus yellow ink. Yellow is the easiest-to-blend ink Copic makes. YG is a tame domesticated version of the ferocious green tiger.
This is why I use YG markers in beginner classes. The yellow ingredients make your life easier.
Why do light green Copics look a bit blue?
In the last section, I talked about G ink being a mixture of blue and yellow inks. I also said YG ink is G plus extra yellow ink.
The amount of yellow in the ink recipe determines whether the green is warm or cool.
More yellow = warm green
Less yellow = cool green
The entire G family is a cool green. They have more blue colorant than yellow.
Now here’s where artistic chemistry comes into play.
The lightest markers in every family end in zero. That zero indicates that the ink inside the marker has been diluted with a lot of solvent. Solvent basically “waters down” (dilutes) the color until it looks pale to you when applied to paper.
Less solvent = dark color
More solvent = pale color
Now remember when I said G was a mixture of blue plus yellow?
And you recall me saying that Y was the friendliest, easiest to blend of all the Copic inks?
And think back to when I said G can shatter if flooded with too much solvent?
At the factory, they add large amounts of solvent to G ink to make markers like G0000, G000, G00, G12, G21, or G40— they hyper-dilute the color to the point where the ink mixture is barely stable. It wants to shatter. The yellow is hanging on with all it’s might but there’s just soooooo much solvent. Often the yellow just slowly fades away…
Which leaves you with blue being the most visible color on the paper.
Pale G markers look bluish because the yellow has died.
So there you go,
The Best Green and Yellow-Green Copic Blending Combinations
If you’re new to Copic Markers, we highly recommend YG03 and YG17 as your starter greens. Frankly, I think you can use them for a lifetime.
What you add to this combination is entirely up to you. YG67 makes an excellent dark. YG21 or YG00 can add light. Or try underpainting with B34, BG05, or BV23… it’s really up to you!
Amy Shulke is a professional illustrator who has used Copic Markers since 1990. She teaches artistic coloring classes online at VanillaArts.com and locally in mid-Michigan.
Marker Novice is Amy’s completely free resource devoted to beginner marker education. For intermediate/advanced artistic coloring articles, see her Studio Journal here.

Marker Testing: Colors Mentioned Above


NOT RECOMMENDED - READ WHY

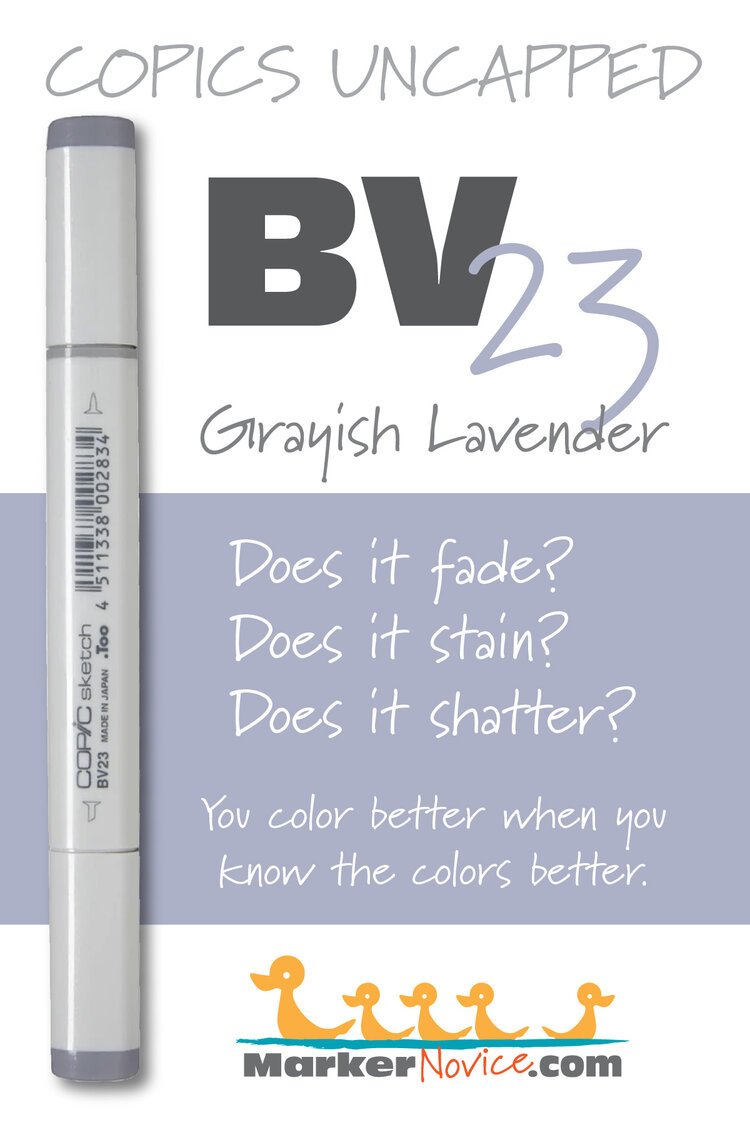

My love is like a red, red Copic…
Join Amy for a fun artistic coloring lesson in the Vanilla Workshop
Rosie Gets the Blues - Copic Marker + Prismacolor Colored Pencil
This Marker Painting Workshop was recorded live and demonstrated in real-time with no speed coloring or edits. Edited classes with perfect narration tend to make the coloring process look faster, easier, and smoother than it really is. Stop comparing yourself to the supermodel version of an artist!
Real time coloring with real mistakes and real fixes.
Class Printable Pack Includes:
Class syllabus with detailed recipe guide
Full color project sample
Guide to Copic base
Detailed color map
Project inspiration references
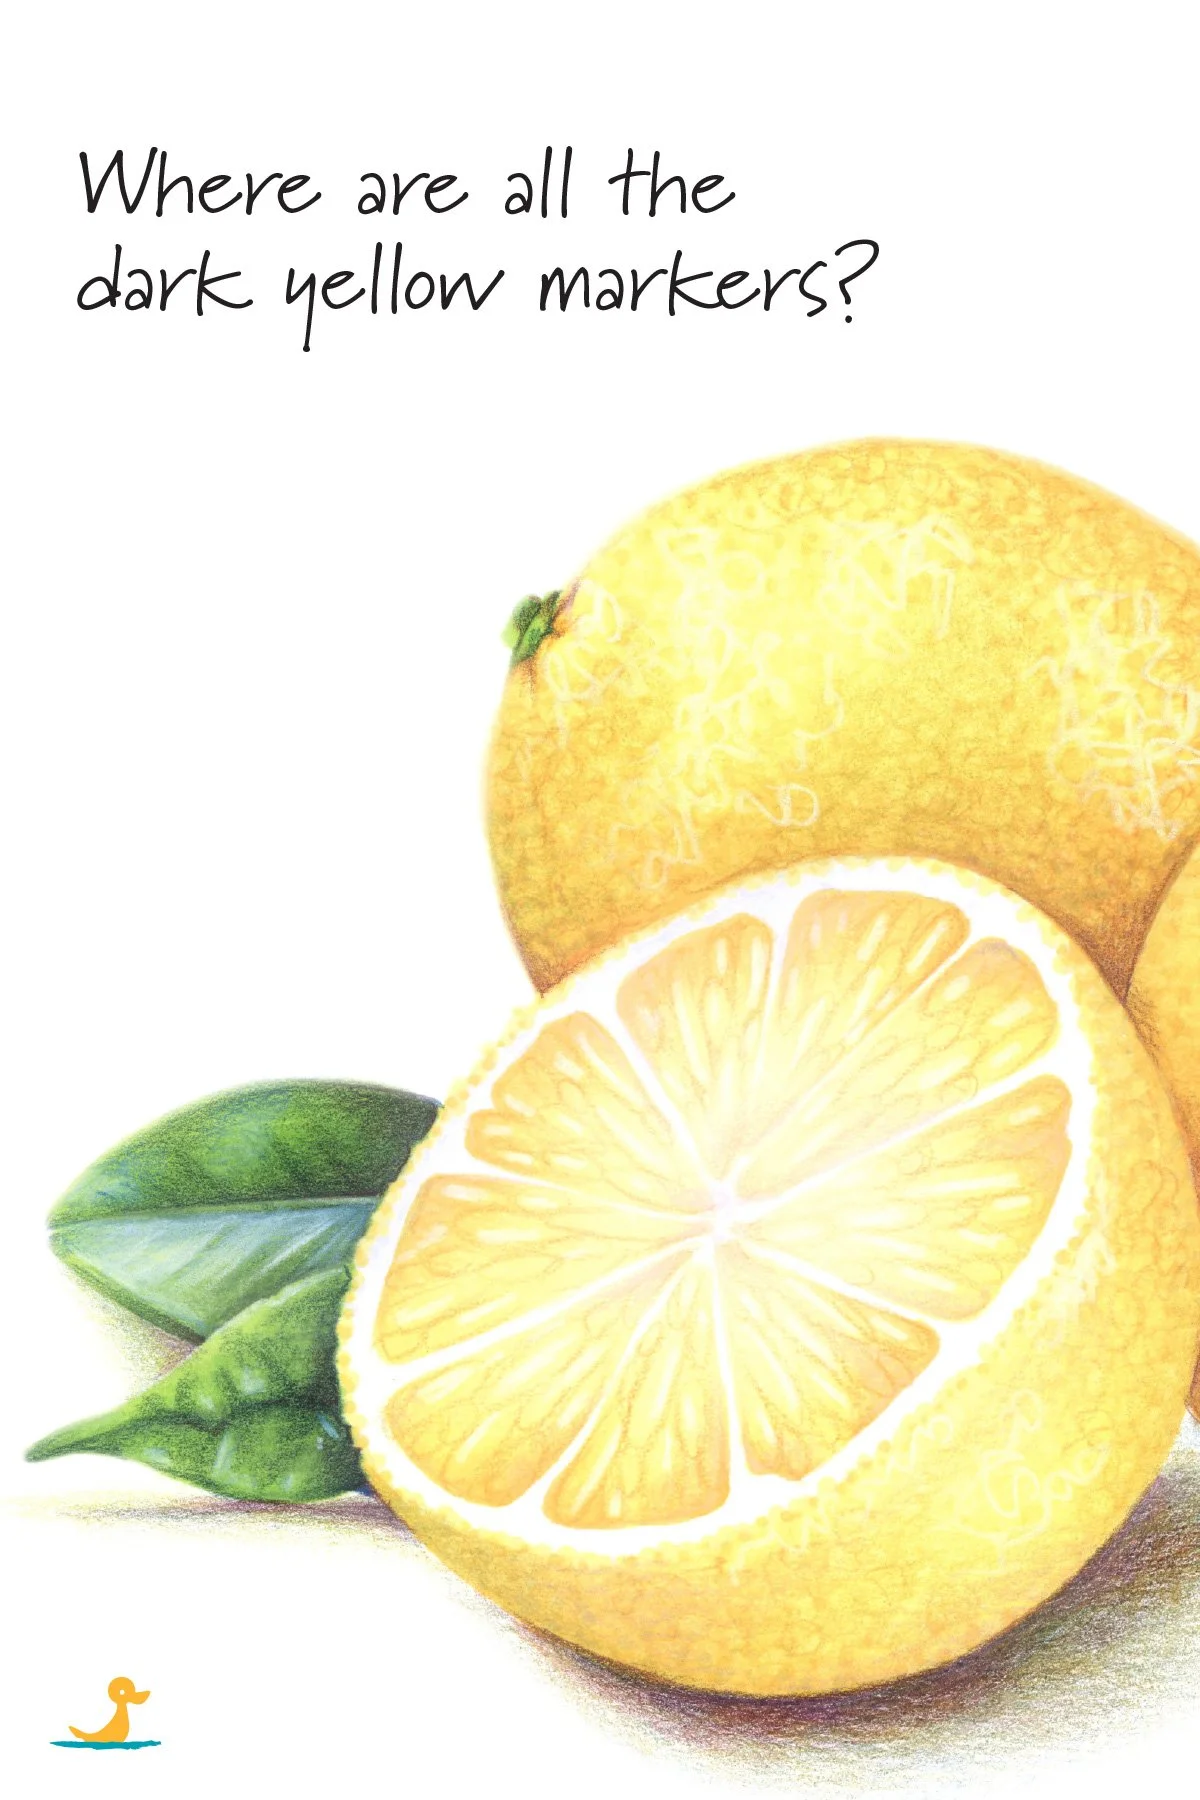

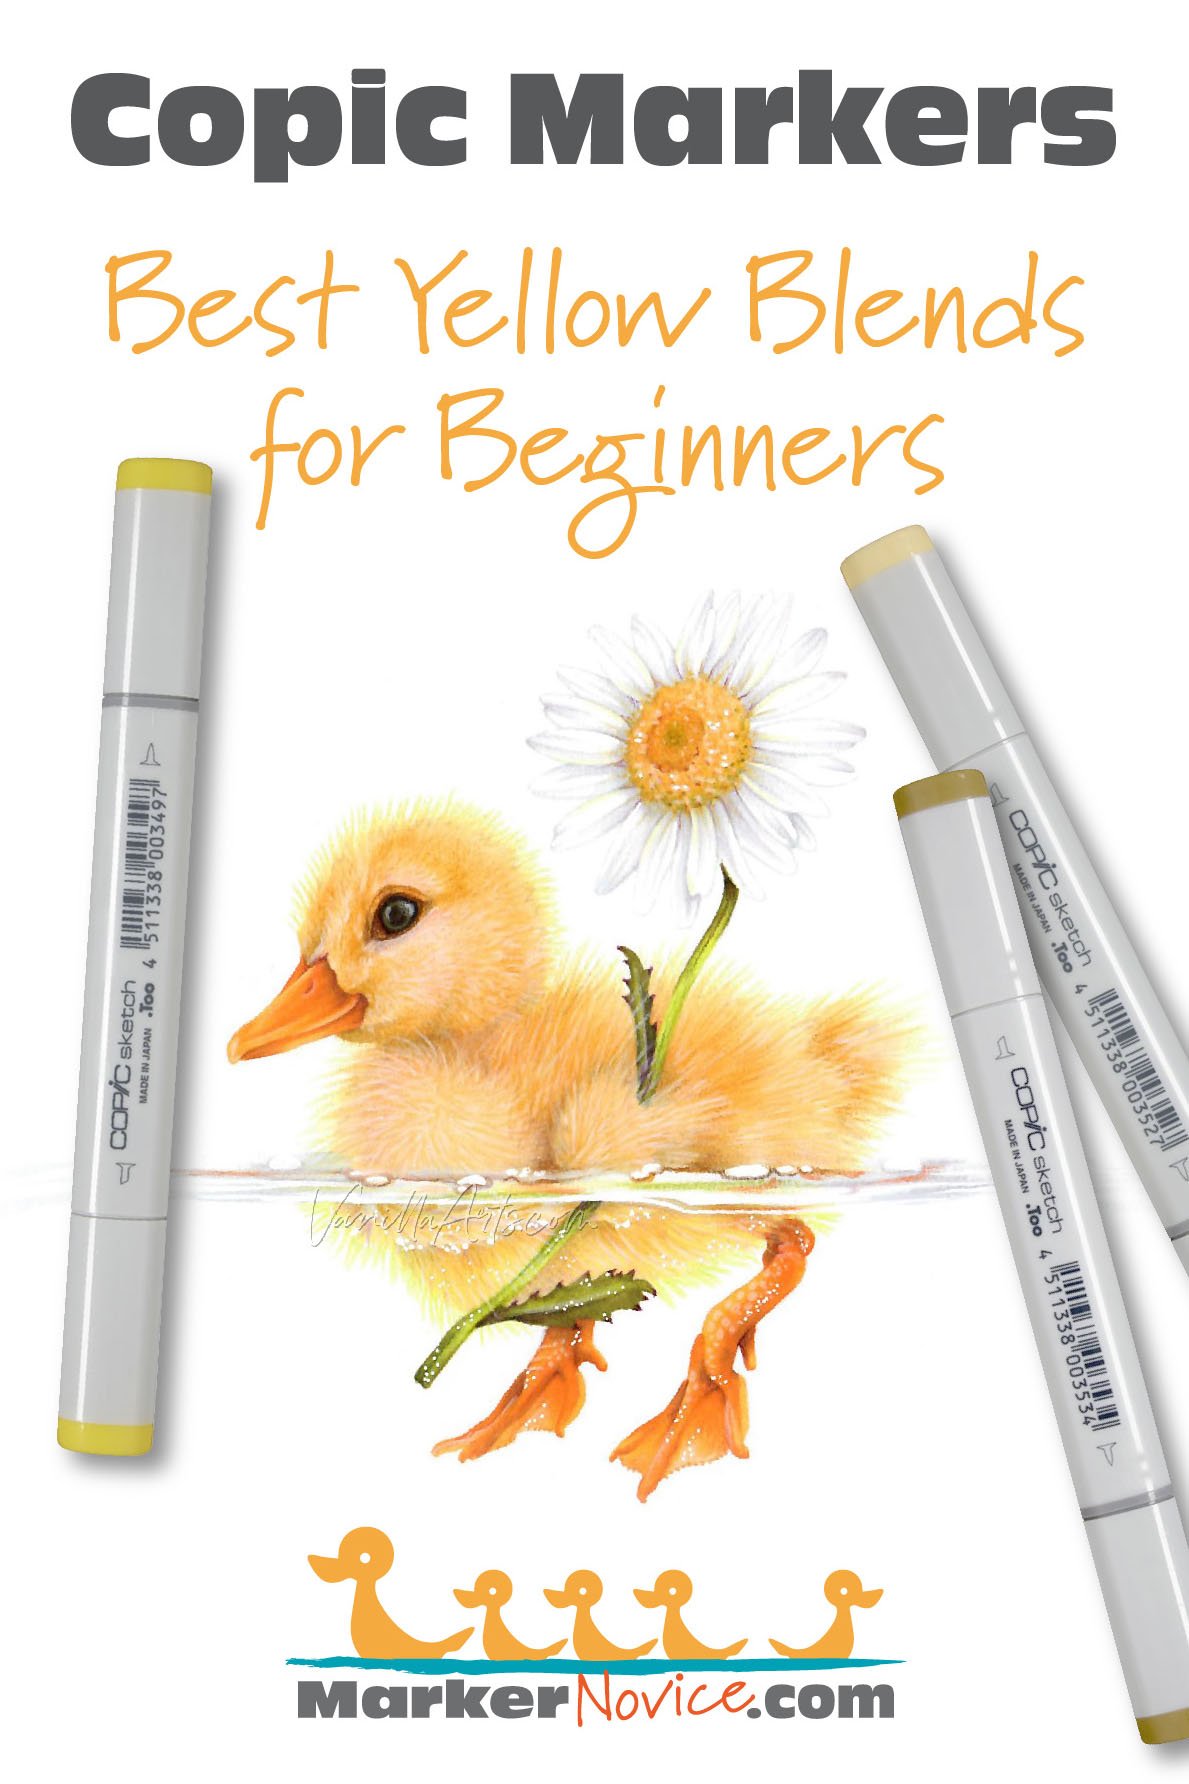
Best Yellow Blending Combinations for Copic Marker Beginners: Tips from 4 Instructors
Which Yellow Copics are Best for Beginners?
I asked three of my favorite marker instructors about which yellow markers they recommend for first time colorers.
Which yellow markers offer students the best value?
Which Copic Ys are versatile enough to color many different yellow items?
Which yellow blending combinations do we teach with?
Which Y markers do we use in our own work?

Are you new to Copic Markers?
When you’re starting out with no markers and no money, the first few marker purchases are exciting but also nerve wracking. It feels great to get started but if you’re honest, you really don’t know for sure if you’re buying the right colors.
I remember those days. I debated every color and every purchase— this blue or that blue? Is this a good yellow or is that one better?
Even with an art degree, I still made mistakes. Many of the markers from my first box of 72 are still gathering dust today!
If I could go back and change the past, I’d focus on useful blending combinations rather than buying boxed sets and grabbing any Copic in the clearance bin. It’s only a bargain if you actually use the marker!
In the spirit of helping you avoid my mistakes, I started to wonder:
What’s the best yellow blending combination for Copic Marker beginners?
I asked three of my favorite marker instructors about which yellow markers they recommend for first time colorers.
Which yellow markers offer students the best value?
Which Copic Ys are versatile enough to color many different yellow items?
Which yellow blending combinations do we teach with?
Which Y markers do we use in our own work?
Which Yellow Copics are Best for Beginners?
We highly recommend Copic’s Y-Ten series of yellow markers for beginners and those building a small, versatile alcohol marker collection. Y17-Y15-Y13 make an easy blending bright yellow or try Y15-Y13-Y11 for a softer look. Both are versatile yellows for any occasion.
Let’s talk to four Copic instructors to learn more about Copic yellow blending combinations.

“Daisy Duckling” by the author, Amy Shulke. Copic Markers and Prismacolor Colored Pencils on Cryogen Curious Metallic White 89 lb. paper. This project is featured Amy’s online class teaching how to develop fuzzy fur or downy feathers. More info here.
Michelle Houghton’s Favorite Yellow Copics
Find Michelle on her Copic in the Craftroom channel at YouTube and at Scrapweaver.com
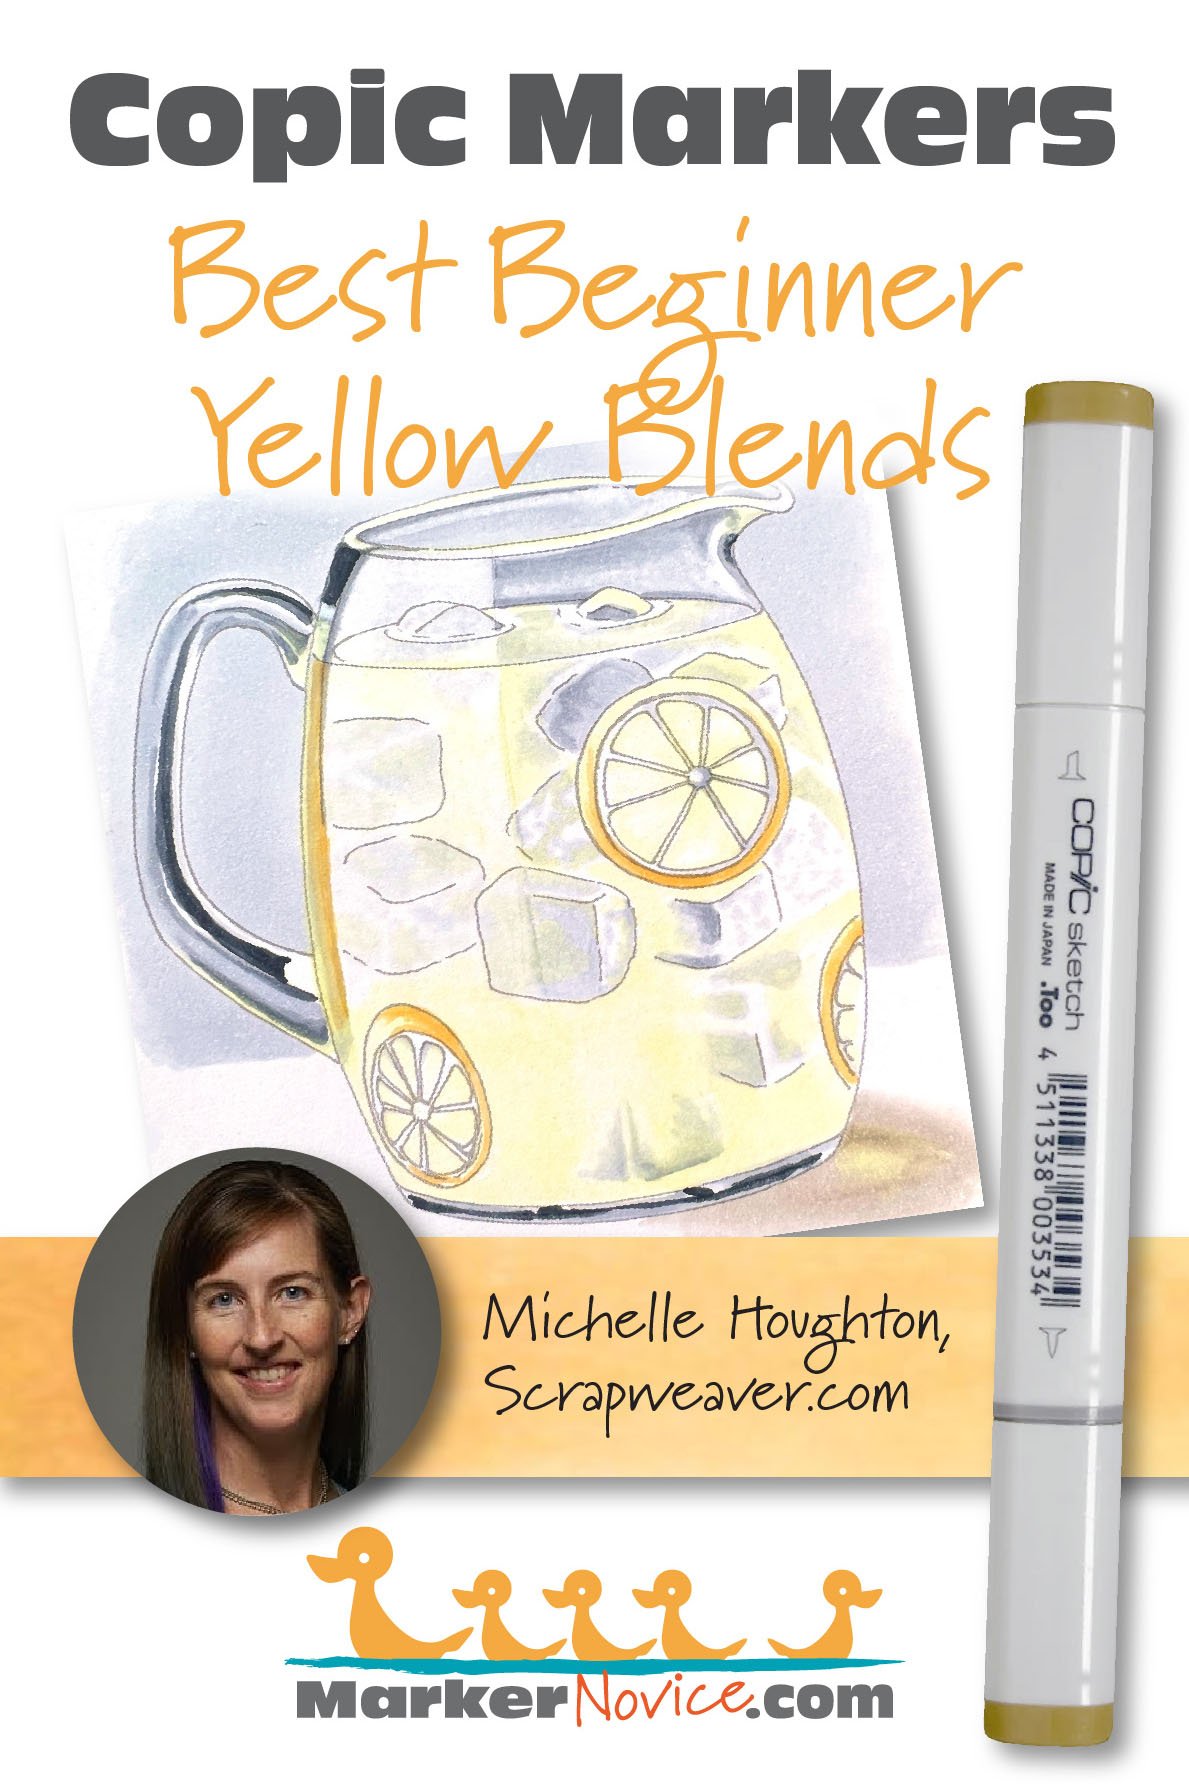
Michelle recommends Y21-Y23-Y26-Y28 for beginners.
She colors them light to dark.
I think Michelle might be a yellow fan. Whenever I’ve asked her for color recommendations, she’s given me one suggestion. This time, she pretty much mentioned every yellow Copic makes.
The girl likes yellow.
Michelle says:
The ones I reach for most are Y00, Y21, and Y28. Then I work in Y21, Y23, or Y26 depending on the situation.
But oh, I really love the Y-Thirties too!
You may find Michelle’s choice a bit surprising. The Y-Twenty family is not what a beginner usually thinks of when someone says “yellow”.
The Twenties are very organic and natural looking yellow; they’re a a brassy gold which reminds me of Naples Yellow. There’s a noticeable earthiness to the Y-Twenties. They’re much more muted than rubber-duckie yellows.
And yet the Twenties are absolutely gorgeous!
Michelle’s choice is smart. She colors many flowers and even when she’s coloring a cartoon stamp, it still has a nature-girl feel to it. Michelle’s yellow blend fits her personality so well!
Here’s Michelle demonstrating the Y30s here:
And here’s a handy comparison of the different yellow groups:
__________
Michelle is an elementary school teacher (BS Fine Arts, MA Education) with over 20 years of paper-crafting experience. She’s is a former Copic Certification Regional Instructor for Imagination International. Michelle runs the Copic in the Craftroom website and YouTube channel. Her Copic College events are favorites with Copic fans at all levels.. Visit her at Scrapweaver.com.
WE ASKED YOU!
What’s the favorite yellow blending combo for Vanilla Arts readers? Y13-Y15-Y17 won hands-down. It wasn’t even close!
Keep reading because this combo is also recommended by 2 instructors here today!
Cordine van der Touw’s Beginner Yellow Blend
Find Cordine’s latest projects on her Facebook page here. You can also find her at Copic Marker Europe and Cordine’s latest classes for Copics at Colourstock.
Cordine recommends Y13-Y15-Y17 for your first yellow blending combination.
Cordine says:

This is a bright yellow combination which is useful on its own but it can also be modified.
I love how I can add for example Y38 for a darker yellow combination or add Y11 for a lighter yellow combination.
This seems to be the driving theme behind all of Cordine’s Copic blending recipes.
She starts with a core blending combination but then adds markers to the dark end to make the color deeper. Or she’ll add a few lighter markers to shift the combination lighter. and brighter.
Far too many beginners think they need totally new yellow combinations for everything they want to color. Instead, Cordine uses her core group to create a full range of yellows.
Cordine proves that you can do a lot with a small but smart collection of basic blends.
__________
Cordine is an office manager in The Netherlands. She’s an avid paper crafter who loves card making, scrapbooking, and coloring stamps with Copic and colored pencils. She has taught Copic since 2013 for Colourstock as the Benelux region representative (Netherlands, Belgium, and Luxembourg). Contact Cordine here.
Elena Cazares’ Favorite Yellow Copic Blend
Elena recommends Y17-Y15-Y13 for beginners. She colors them dark to light.
Elena says:
I have several favorite yellows but I keep coming back to this classic and it’s a good one for beginners to start with. Y17 is sunny and bright but not wimpy. It reminds me of a sunny-side-up egg!
I also use Y08-Y06-Y04 a lot but that combination has a little hint of green to it. It works for flowers but most beginners wouldn’t want that greenishness if they were coloring eggs.
Uhm… cooking tips aside, notice that Cordine and Elena recommend the same combination and yet their yellow items look different?

This is one of the hardest concepts to convey to beginners. Many colorers spending a lot of time collecting marker recipes and blending combination swatches assuming that if they use that exact blending combination, they’ll get the same results.
But there are so many variables to blending—
Did you apply the color dark to light or light to dark?
How fast or slow do you color?
What is the ratio of dark ink to light ink used?
What pressure was used to apply the dark ink?
How generous was the blending coat?
Did you reblend several times?
Are you using the same brand of paper?
Change one or more of these factors and you’ll change the look of the blending combination.
Every person using this yellow Copic Marker blending combination will get slightly different results.
Cordine and Elena’s coloring looks different because they’re different people with different processes— even though they’re using the same markers. This is also why your project will differ from theirs.
Who colored it is usually more of a factor than what they used.
Amy Shulke’s Favorite Yellow Markers
Hey, that’s me! You can find me here at MarkerNovice.com or at my artistic coloring site, VanillaArts.com.

My favorite yellow blending combination is B60-Y35-Y21.
No, that’s not a typo. I really do use B60 in this yellow blend.
And yes, I teach this blue-yellow underpainting combination to my beginner level students— often in their very first class.
Underpainting is not nearly as difficult as it sounds.
It’s deeper thinking, not harder coloring.
Why do I add blue to my yellow blending combination?
Because although Copic makes 20 different yellows, they really don’t make natural looking shade yellows.
And I know, right now you’re thinking: But I’ve seen lots of tutorials on YouTube where they shade with something like Y19 or maybe an orange or brown marker.
Nope. That’s what they do but it doesn’t look realistic. Shade isn’t just a darker version of the original color. Shade also isn’t more saturated than the base color. When you pull out a Y marker which ends in 8 or 9, you’re just getting a more intense yellow, not shade.
Take a look at my duckling here. Check out the shady area under his chin. There’s not a lot of light hitting inside the fold of his neck, is there?
And that’s my point. Copic doesn’t make a good yellow to use in these crevices.
So I fall back on my painter’s background and I make my own shady yellow.
B60 is a very cool, very grayed blue. By laying B60 down first and then covering it completely with Y35, I’m doing exactly what I’d do with watercolor to mix up a grayed, cool, shady yellow.
B60 is a very gentle underpaint for beginners who aren’t quite used to making muddy shade colors. It’s easy to cover, easy to blend. Many of my other yellow blending combinations use BV, V, or even a stronger gray marker. But for beginners, I start them on the underpainting process by using B60 under this yellow.
It’s an easy shaded yellow for those who intend to grow and progress to realistic marker illustration.
And in case you’re wondering— no, I didn’t invent underpainting. I borrowed it from standard watercolor and oil painting techniques. The concept actually goes back to the 1700’s and the Old Masters. I started underpainting with Copics back in the early 1990’s when I got frustrated at the lack of shady colors in the Copic ink palette. I didn’t realize at the time that nobody else was doing it.
Do beginners need to underpaint Yellow?
I would.
Look, if you’ve never drawn, painted, or used Copics before, and especially if you’re trying to learn how to color using YouTube videos, blogs, website tutorials, and other free resources…
Well, that’s a lot on your plate at once.
You’re at a disadvantage because free instruction is not the same as good instruction.
So maybe concentrate on figuring out how to blend before you worry about underpainting.
One hurdle at a time, eh?
But once you’re blending well?
If you intend to color realistic items, you’ll have to underpaint yellow because Copic does not make realistic yellow shade tones.
They simply don’t.
You must make shady yellow yourself. Underpainting is the easiest way to mix markers and once you get the hang of it, you’ll use it all the time.

SPF50 for Yellow
Learn to tame bright and vibrant yellow Copic Markers in “SPF50 for Yellow”, a beginner’s challenge online class from Amy Shulke. Underpaint yellow to soften, desaturate, and tone Copic’s most vivid and saturated colors.
We’re making the shady yellows we wish Copic would make!

Which yellow(s) should you avoid?
Honestly, I’d stay away from the Y-Zero family. The Zero family includes Y02, Y04, Y06, and Y08.
Avoiding the Y-Zeros will be hard because many beginners are drawn to the bright cheerful colors found in the B-Zeros, YR-Zeros, YG-Zeros, etc. Zeros are catnip to newbies. Plus, I’ve noticed a lot of card makers turned Copic instructors use the Y-Zeros in their tutorials and classes.
But here’s the problem: The Y-Zero family look like office highlighters.
Copic makes an entire group of florescent (F) markers. Ironically, the Y-Zeros are more highlighter-ish looking than FY1 (Florescent Yellow #1).
The Y-Zero family are a bit obnoxious. You can live without them.
Why is Y00 green?
Notice that of the 4 instructors here, nobody recommended buying Y00, Y000, or Y0000?
That’s because they’re kind’a green.
Yes, the sub-zero yellow markers actually look pale green on many brands of paper and in certain lighting conditions. It’s very disappointing!
Why do they look green?
The entire Y-Zero family is a cool yellow.
Warm yellows look a bit orangish, cool yellows look greenish.
Y08, Y06, and Y04 are dark enough that the colors read as very yellow. But from Y02 on down, these markers have far more solvent than colorant. The coolness of the yellow is easier to spot and they read as a “sickly” yellow to many people.
You’ll notice in this entire Best Blending Combination series of articles, we rarely recommend sub-zero markers for beginners. You can definitely skip the Y-Sub-Zeros until later.
So there you go,
The Best Yellow Copic Marker Blending Combinations
If you’re new to Copic Markers, we highly recommend Copic’s Y-Ten series of yellow markers, especially if you intend to build a small yet versatile alcohol marker collection.
Y17-Y15-Y13 make an easy blending bright yellow or try Y15-Y13-Y11 for a softer look. Both are versatile yellows for any occasion.
Amy Shulke is a professional illustrator who has used Copic Markers since 1990. She teaches artistic coloring classes online at VanillaArts.com and locally in mid-Michigan.
Marker Novice is Amy’s completely free resource devoted to beginner marker education. For intermediate/advanced artistic coloring articles, see her Studio Journal here.

Marker Testing: Colors Mentioned Above



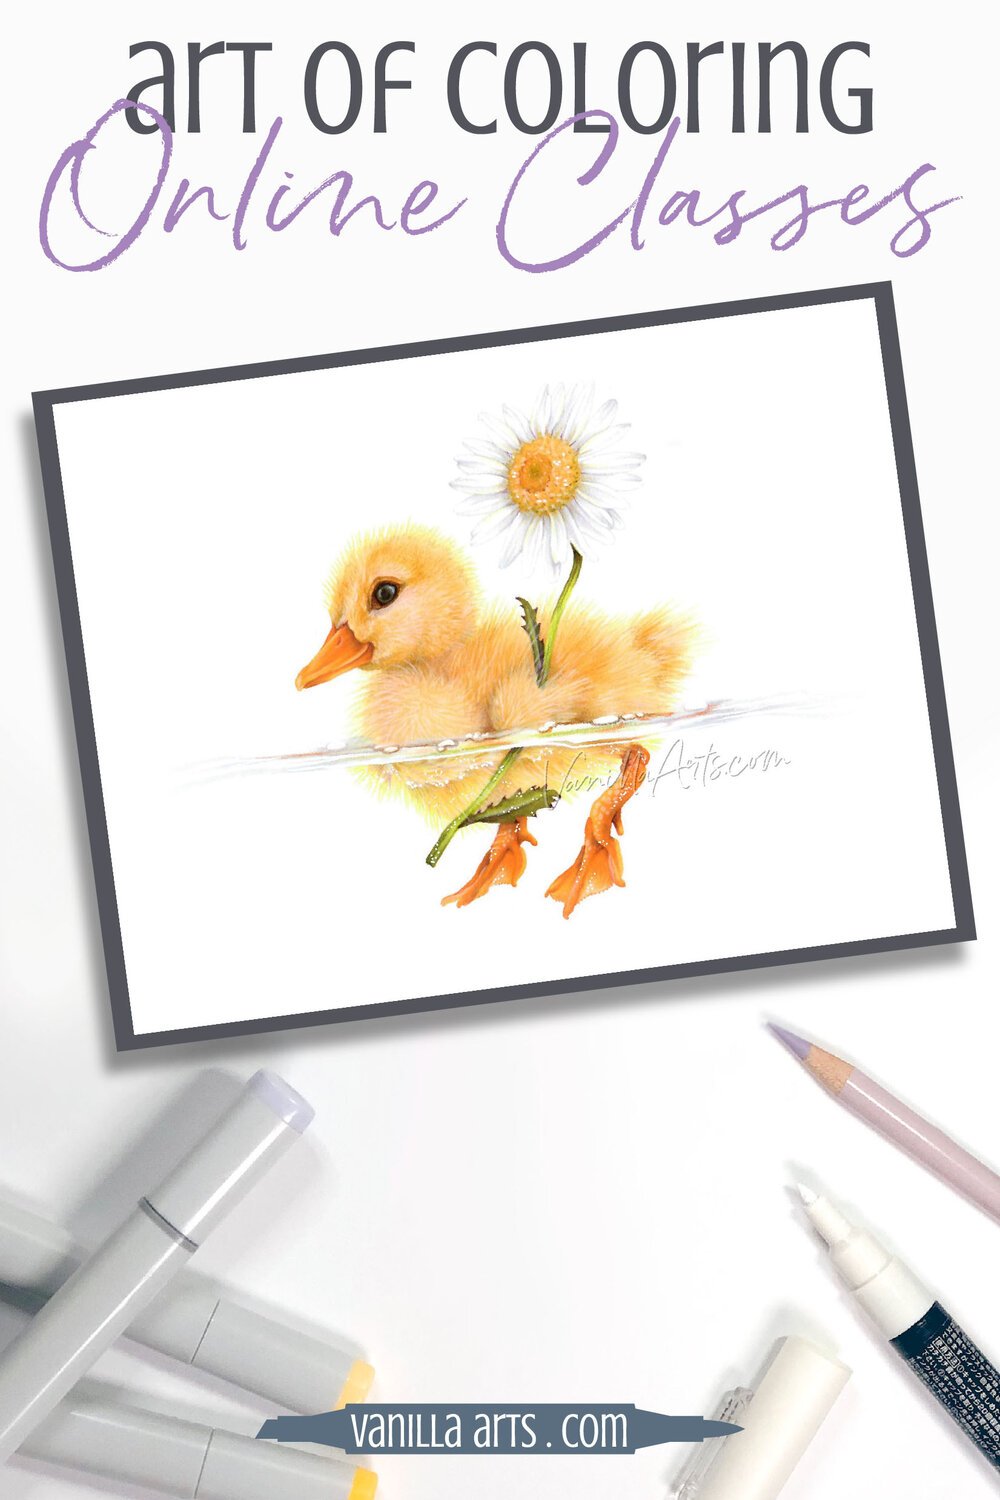
Quack, Quack!
Join Amy for a fun Copic Marker + Colored Pencil lesson in the Vanilla Workshop
Learn to color touchably soft fur or fuzzy feathers
Copic is fun but we need the help of colored pencils to give us realistic furry fluff. But unlike many fur tutorials, drawing a bunch of hairs doesn’t help. Amy covers the professional approach to coloring dimensional bodies with real looking fur.
Immediate access. Watch as many times as you want, whenever you want
Class Printable Pack Includes:
Class syllabus with detailed recipe guide
Full color project sample
Guide to Copic base
Detailed color map
Project inspiration references
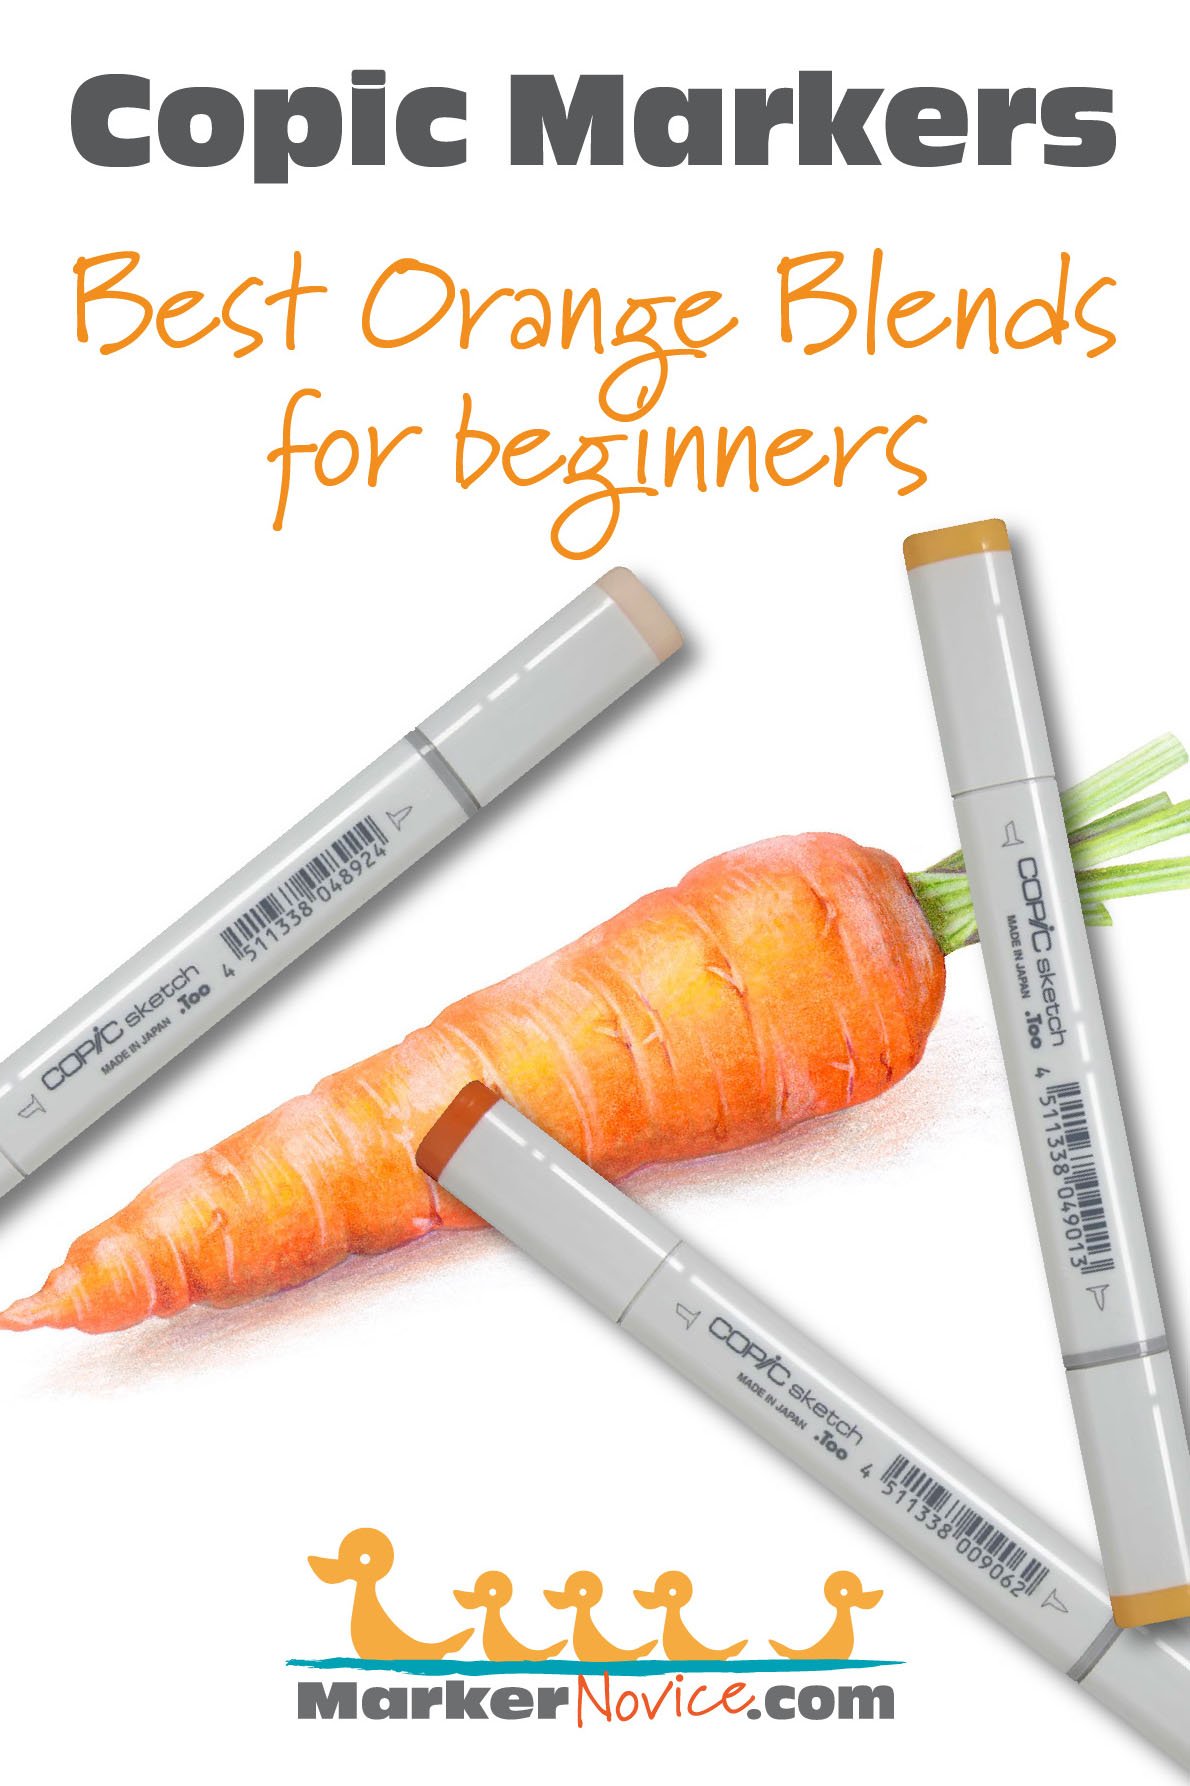
Best Orange Blending Combinations for Copic Marker Beginners: Tips from 4 Instructors
Which Orange Copics are Best for Beginners?
We highly recommend Copic’s YR-Zero series orange markers for beginners and anyone building a small, versatile alcohol marker collection. YR09, YR07, YR04 are easy blending oranges which can be used for food, flowers, and holiday images…
Are you purchasing Copic Markers for the first time?
While buying lots of pretty markers sounds like fun, this is real money we’re talking about.
Your money.
Sadly, we usually can’t buy all the colors at once. When I started, money was tight so I debated the worth of every color I purchased. Even with an art degree, I still made rookie mistakes. Many of the markers from my starter set are still gathering dust today!
If I could go back and change the past, I’d focus on useful individual blending combinations rather than grabbing any Copic in the clearance bin. It’s only a bargain if you actually use the marker!
In the spirit of helping you avoid my mistakes, I started to wonder:
What’s the best orange blending combination for Copic Marker beginners?
I asked three of my favorite marker instructors about which orange markers they recommend for first time colorers.
Which YR markers offer you the best value?
Which Copic Yellow-Reds are versatile enough to color many different orange items?
Which YRs do we teach with?
Which orange markers do we use in our own work?
Which Orange Copics are Best for Beginners?
We highly recommend Copic’s YR-Zero series orange markers for beginners and anyone building a small, versatile alcohol marker collection. YR09, YR07, YR04 are easy blending oranges which can be used for food, flowers, and holiday images.
YR18, YR16, YR14 would be our second choice for a more organic orange blending combination.
Let’s talk to four Copic instructors to find out why.

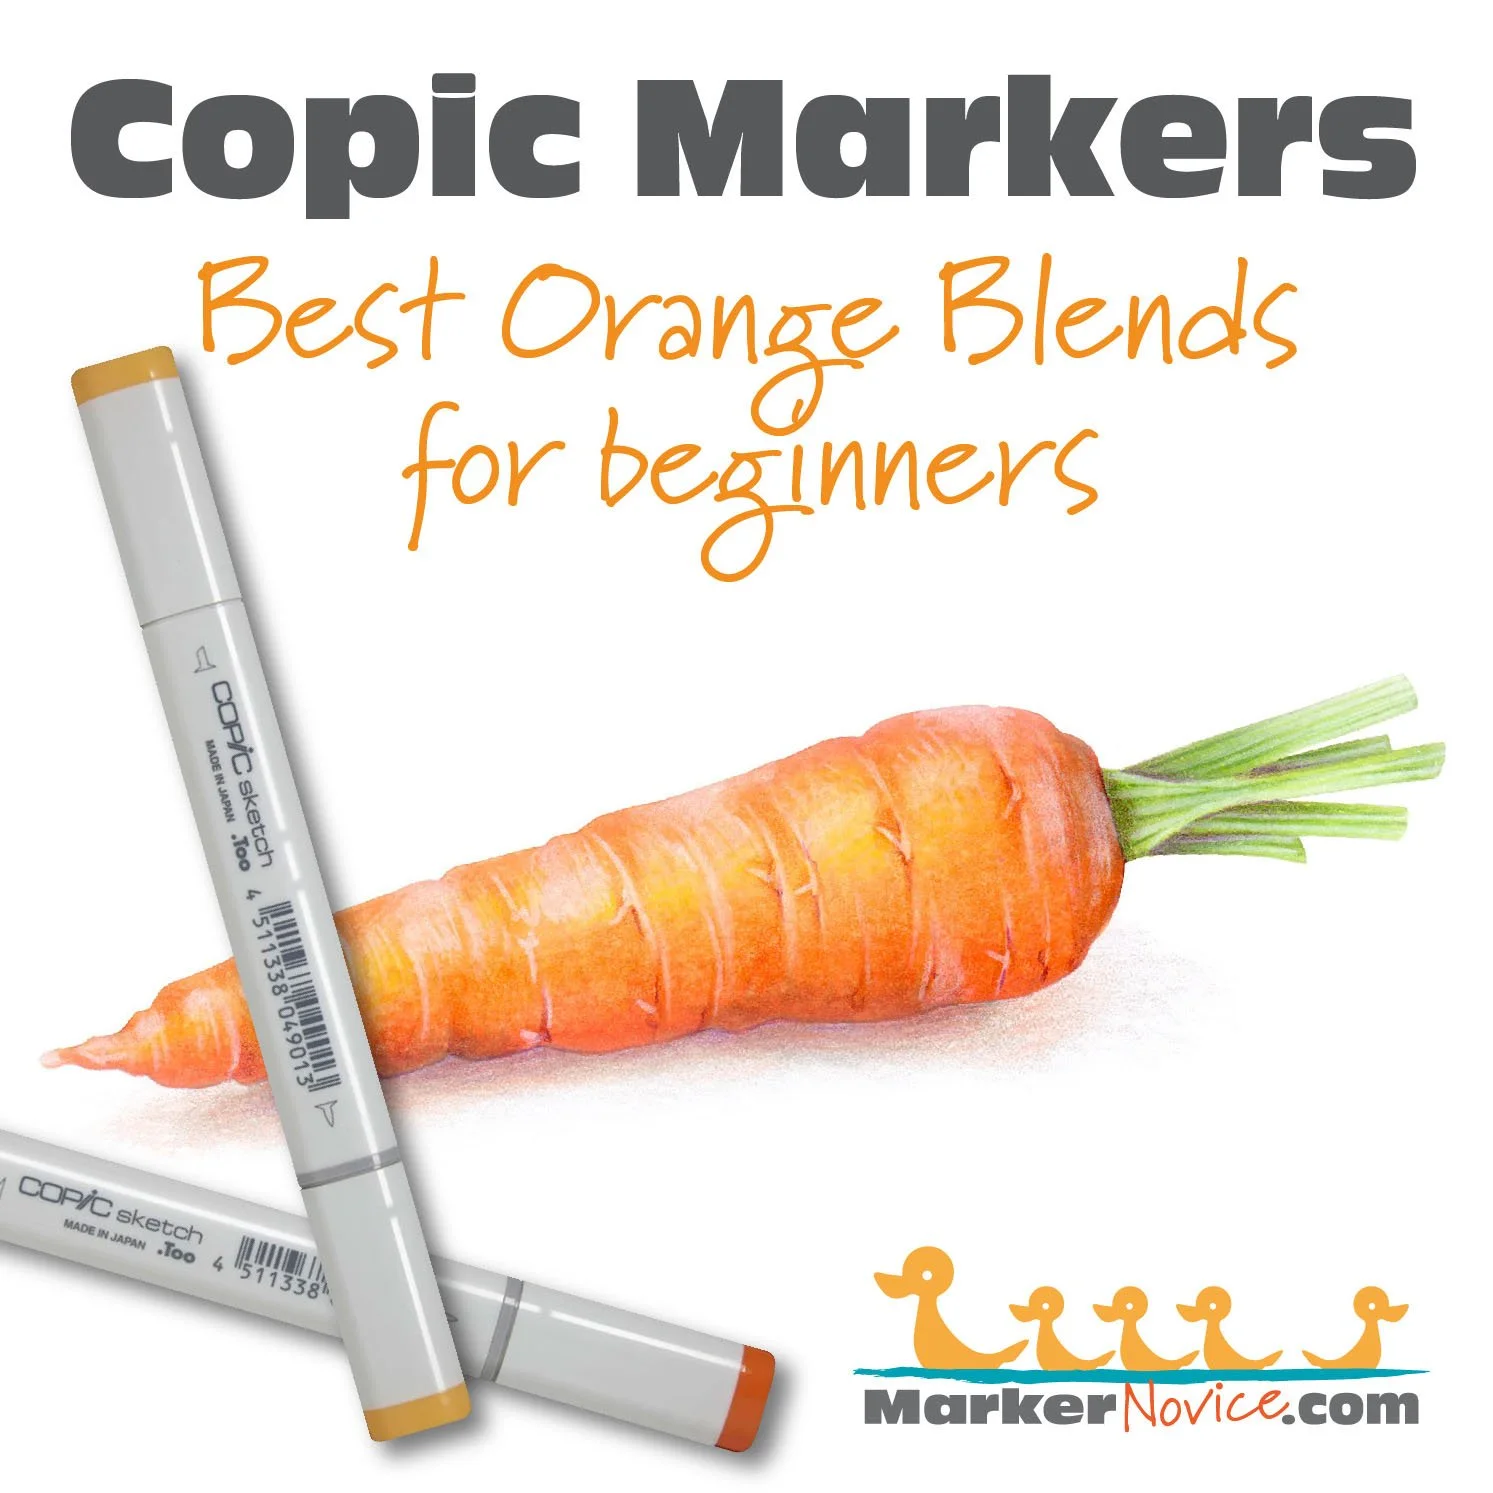
“Carrot” by the author, Amy Shulke. Copic Markers and Prismacolor Colored Pencils on X-Press It Blending Card paper. This project is Amy’s sample project for “Coloring Basics: Fences”, technique tips and talk from two Copic instructors. More info here.
Michelle Houghton’s Favorite Orange Copics
Find Michelle on her Copic in the Craftroom channel at YouTube and at Scrapweaver.com

Michelle recommends YR21-YR14-YR18 for beginners. She colors this combination light to dark.
Michelle says:
“There aren’t as many options with the YR family as we’d like but I use YR21 quite a bit. I basecoat with the YR21 and for this combination, I sometimes add Y25 under the YR14 if I want a brighter, more yellowy orange.
I also love the YR21, YR24, YR27 series but it’s very different. I use this golden combination on hair more than anything else.”
Michelle warns students who have purchased or inherited older markers about YR14. “It’s a great color but the plastic on the older caps does NOT match the color of the ink. The cap is darker and browner which can confuse many people. They changed the [plastic end] color on newer markers and it’s much more accurate now.”
Watch Michelle demonstrate this pretty blending combination in her “Finding Copic Color” video here:
Michelle is also hard at work on a video series which demonstrates every Copic Marker! You can see her blend the entire Yellow-Red family here:
Last, Michelle has a handy infographic comparing the various YR groups:
__________
Michelle is an elementary school teacher (BS Fine Arts, MA Education) with over 20 years of paper-crafting experience. She’s is a former Copic Certification Regional Instructor for Imagination International. Michelle runs the Copic in the Craftroom website and YouTube channel. Her Copic College events are favorites with Copic fans at all levels.. Visit her at Scrapweaver.com.
WE ASKED YOU!
In our survey of frequent Copic colorers, YR09-YR07-YR04 was voted favorite orange blending combination.
This isn’t a surprise. Many Copic fans favor bright, clean, vividly colored markers. You can’t get a brighter orange combination than the YR-Zero family!
Cordine van der Touw’s Favorite YR Blending Combination
Find Cordine’s latest projects on her Facebook page here. You can also find her at Copic Marker Europe and Cordine’s latest classes for Copics at Colourstock.
Cordine recommends YR09-YR16-Y17 as a beginner orange Copic blend.
Notice that’s two YR markers plus one Y?
Cordine says:
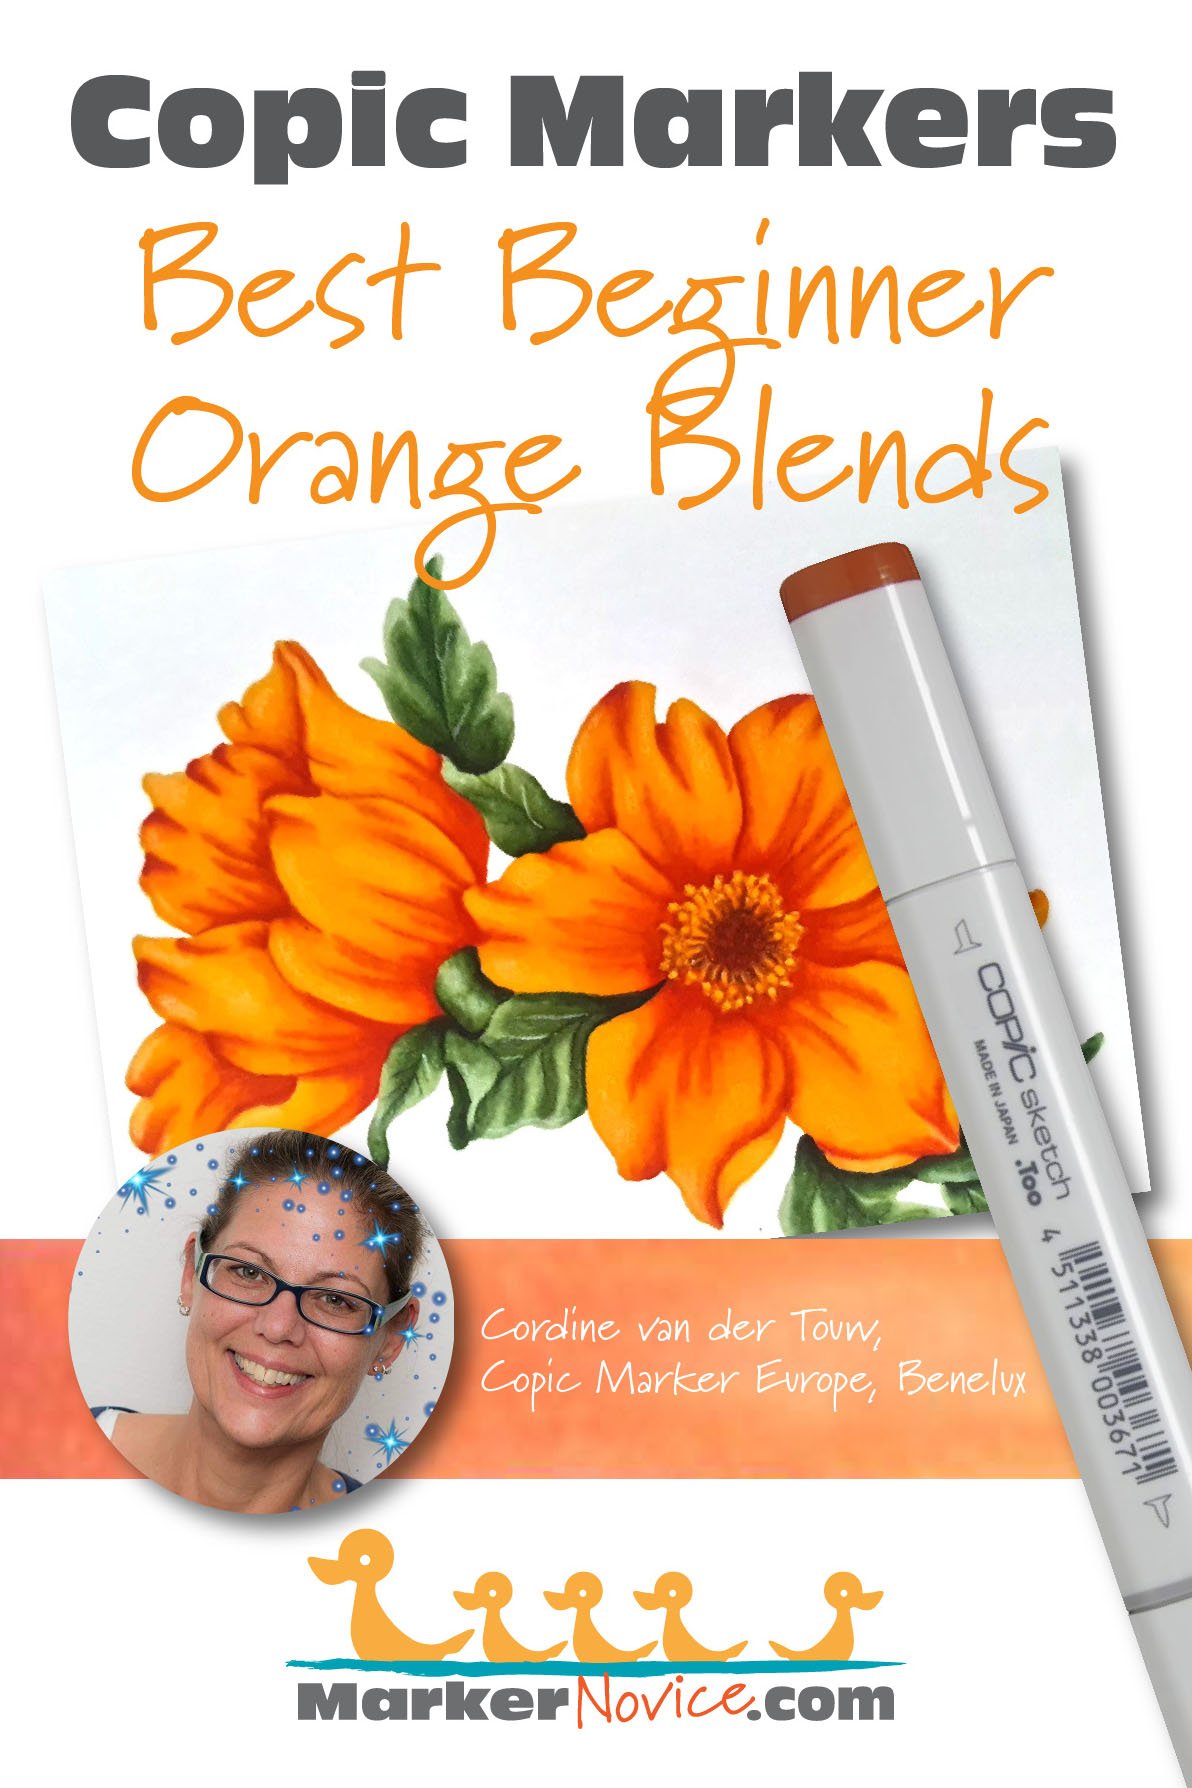
My to go to YR combination is YR09-YR16-Y17.
Sometimes I switch the YR09 to YR07 if I want a slightly softer orange.
I love this combination because it’s flexible! If I want a yellower project i would ad a Y15 after the Y17. If I want a darker looking orange, I can start with the red or the brown family plus these YRs.
I love Cordine’s approach to blending combinations.
Her goal is to color something orange but she’s actually not buying many orange markers.
Instead, she borrows yellows and either reds or browns to expand two YR markers into a larger blending combination.
This is a smart budget strategy!
__________
Cordine is an office manager in The Netherlands. She’s an avid paper crafter who loves card making, scrapbooking, and coloring stamps with Copic and colored pencils. She has taught Copic since 2013 for Colourstock as the Benelux region representative (Netherlands, Belgium, and Luxembourg). Contact Cordine here.
Elena Cazares’ Favorite Orange Copic Markers
Elena recommends YR07-YR04-YR02 for beginners. For advanced colorers, she recommends YR18-YR16-YR14.
Elena says:
YR can be a bit stubborn so I like the YR-Zero family for beginners because they’re easy to blend. YR07, YR04, and YR02 won’t give you any trouble.
But in my own work, I like orange to have a bit more sophistication. YR18, YR16 and YR14 are a bit desaturated and natural looking. They're organic colors, better for flowers and food.

I like that Elena acknowledges that there are beginner blends but also more challenging combinations which are best saved until you have some experience.
Beginners tend to focus on collecting colors— but there’s more to markers than just the appearance.
Some of the prettiest colors can be frustrating to blend!
By recommending an easy-blend orange combination to beginners, Elena helps her marker novices grow their skills before they tackle harder blends.
By the way, Elena always colors dark to light and she often underpaints orange with blue to create an interesting shady orange.
Amy Shulke’s Favorite Orange Markers
Hey, that’s me! You can find me here at MarkerNovice.com or at my artistic coloring site, VanillaArts.com.

My favorite orange blending combination is actually one orange and two yellows: YR07-Y38-Y35.
Fall is about the only time I teach with orange markers. Aside from the occasional accent, orange is just not a color I use much. Instead of asking my beginners to invest in a bunch of oranges, I borrowed two of yellows from our standard yellow combination.
Y38 and Y35 are chameleon colors. Paired with orange, they look orangish, paired with yellow, they look dark yellow.
I love it when I can save student’s money by using the same markers in completely different blending combinations!
Orange can be a slightly stubborn color but Y markers have lots of solvent in their formula. Adding a yellow marker to any orange combination increases the ease of blending.
I color dark to light and I always underpaint orange rather than using a darker YR or E marker to shade. My favorite underpaint for orange markers is usually V20 or V22 but the carrot shown here was underpainted with one of the YG markers borrowed from the stems. Using colors from other areas of the same image is how I keep my class supply lists short and budget-friendly.
And in case you’re wondering, I did not invent underpainting. Underpainting goes back several centuries to classical era oil painting. I’m simply one of first fine artists to promote underpainting as a technique specifically for Copic Markers. To be honest, when I started underpainting Copics, I didn’t realize that nobody else was doing it!
Do beginners need to underpaint orange?
No.
If you’ve never drawn, painted, or used Copics before, you don’t need to worry about underpainting.
Skip it.
Underpaint creates the look of realistic shade by creating a dirty, dingy orange. In art, we call this “desaturation”.
Real shade is not darker, it’s desaturated.
But for beginners, it’s much more important to learn how to color orange with confidence.
Once you’re blending without thinking too hard about the actual blending process, then try adding an easy underpaint as a challenge element.
You’ve got years to work on building skills. Master blending a variety of YR combinations before you branch into underpaint.
Should I purchase YR00 for skin tones?
Many beginners use YR00, YR000, or YR0000 to color caucasian skin.
Now I don’t know about you but I happen to be a pale caucasian.
If I hold a YR00 up to my arm, it’s not even close to my skin color. In fact, my skin doesn’t match any of the YR markers!
If you like to color cartoons, then you’ll probably enjoy using YR00 for skin but it’s a pretend skin color.
No human has YR colored skin. Copic Yellow-Red markers are all too pink, too orange, or too yellow for realistic skin tones.
For realistic caucasian skin, you’ll want to look closer at the Earth family (E). My skin is pretty close to E21 but I use E50 in a lot of classes too.
We also recommend this YR blending combination…
As I mentioned, I don’t use orange in very many beginner classes.
fall leaves
Halloween pumpkins
snowman noses
carrots for the Easter Bunny
I’m sure you can think of a few more orange objects but honestly, I simply don’t find orange to be an investment you need to make unless it’s October.
But there is a YR blending combination I use all the time. In fact, my classes call for this combination more than purple!
Copic YR27-YR24-YR21 is the perfect combination for gold, brass, and even golden blonde hair.
And this recommendation is unanimous. Michelle, Cordine, and Elena all mentioned the importance of the YR-Twenty family without me asking. We all teach with this combination.
When I first started teaching beginners, I developed a master Copic list. You can subscribe to my newsletter to get a copy of this same list from my FREE download library, subscribe here. Anyway, my intention was to teach all my beginner classes using only the markers on this list.
To make the list, I ran through the rainbow, creating a versatile blending combination for every Roy G. Biv color plus pink and also several browns for the various skin tones, hair colors, and natural stuff like wood and dirt.
But then month after month, we kept finding things in the rubber stamps which needed gold.
Sometimes it was little things like a belt buckle or a key. There were many animals, flowers, and food like bread or muffins which simply didn’t look real when colored bright yellow.
Then when the winter holiday season hit, almost every commercial stamp featured large items which were actually golden— Christmas ornaments, stars, jingle bells, sleigh runners, candlesticks, angel halos, trumpets, decorative filagree, and fizzy champagne in gold rimmed flutes.
Golden items look cheap when colored with Y markers!
Gold wasn’t even on my radar until I taught classes for card makers. I rarely used gold in my professional illustrations but paper-crafters color gold all the time!
Who’da thunk?
If you color stamps or coloring books, seriously consider adding the YR-Twenty family to your Copic shopping list!
So there you go,
The Best Orange Copic Marker Blending Combinations
If you’re new to Copic Markers, you can’t go wrong with the YR-Zero series. They’re a bright and cheerful classic orange without the stubborn blending tendencies you’ll find in some of the other YR groups.
For a more organic and natural looking orange, try YR18, YR16, YR14. It’s a bit harder to blend but better for realistic coloring.
Because orange isn’t a frequently used color, try Cordine’s advice about supplementing YRs with yellow, red, or earth markers.
And if you color stamps or coloring books, put the YR-Twenties towards the top of your shopping list. They really come in handy!
Amy Shulke is a professional illustrator who has used Copic Markers since 1990. She teaches artistic coloring classes online at VanillaArts.com and locally in mid-Michigan.
Marker Novice is Amy’s completely free resource devoted to beginner marker education. For intermediate/advanced artistic coloring articles, see her Studio Journal here.